Sticker: Unterschied zwischen den Versionen
Weitere Optionen
Keine Bearbeitungszusammenfassung |
Keine Bearbeitungszusammenfassung |
||
| Zeile 78: | Zeile 78: | ||
[[File:Scale.png|center|900px]] <br> | [[File:Scale.png|center|900px]] <br> | ||
Once the image has been placed in the white area draw a path around it to define where it will be cut out. | |||
[[File:Bezier.png|center|900px]] <br> | [[File:Bezier.png|center|900px]] <br> | ||
[[File:Cut.png|center|900px]] <br> | [[File:Cut.png|center|900px]] <br> | ||
Put the path in a new layer by first creating a layer and moving the path into it. | |||
[[File:Layers.png|center|900px]] <br> | [[File:Layers.png|center|900px]] <br> | ||
[[File:path-to-layer.png|center|900px]] <br> | [[File:path-to-layer.png|center|900px]] <br> | ||
Version vom 13. April 2024, 22:39 Uhr
Making stickers with Inkscape and Silhouette
Step 1: Installation
1.1 Inkscape
Inkscape is already pre-installed on the notebooks (NixOS) of the SFZ. Unfortunately there is no support for the required plugin on NixOS. For your own devices follow the steps below:
- Windows - Download the Windows installer from the Inkscape website and run it.
- MacOS - Download the MacOS installer from the Inkscape website and run it.
- Linux - Open a Terminal and type:
Debian-based systems (e.g. Ubuntu):
sudo apt-get install inkscape
Arch Linux:
sudo pacman -S inkscape
Fedora:
sudo dnf install inkscape
1.2 Silhouette
Go to github.com/fablabnbg/inkscape-silhouette and follow the installation steps for your platform. These may change over time, so only the source is referenced here.
Step 2: Launch Inkscape
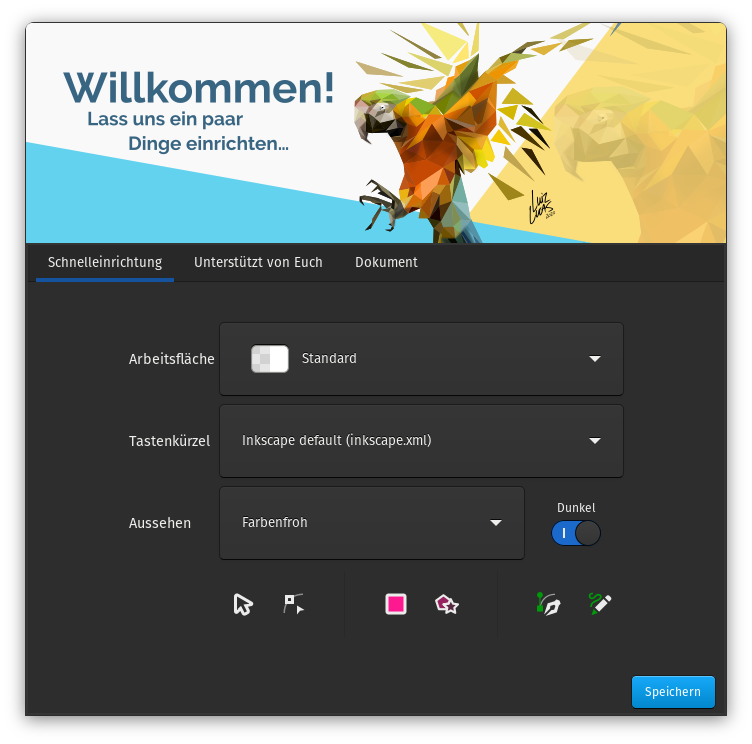
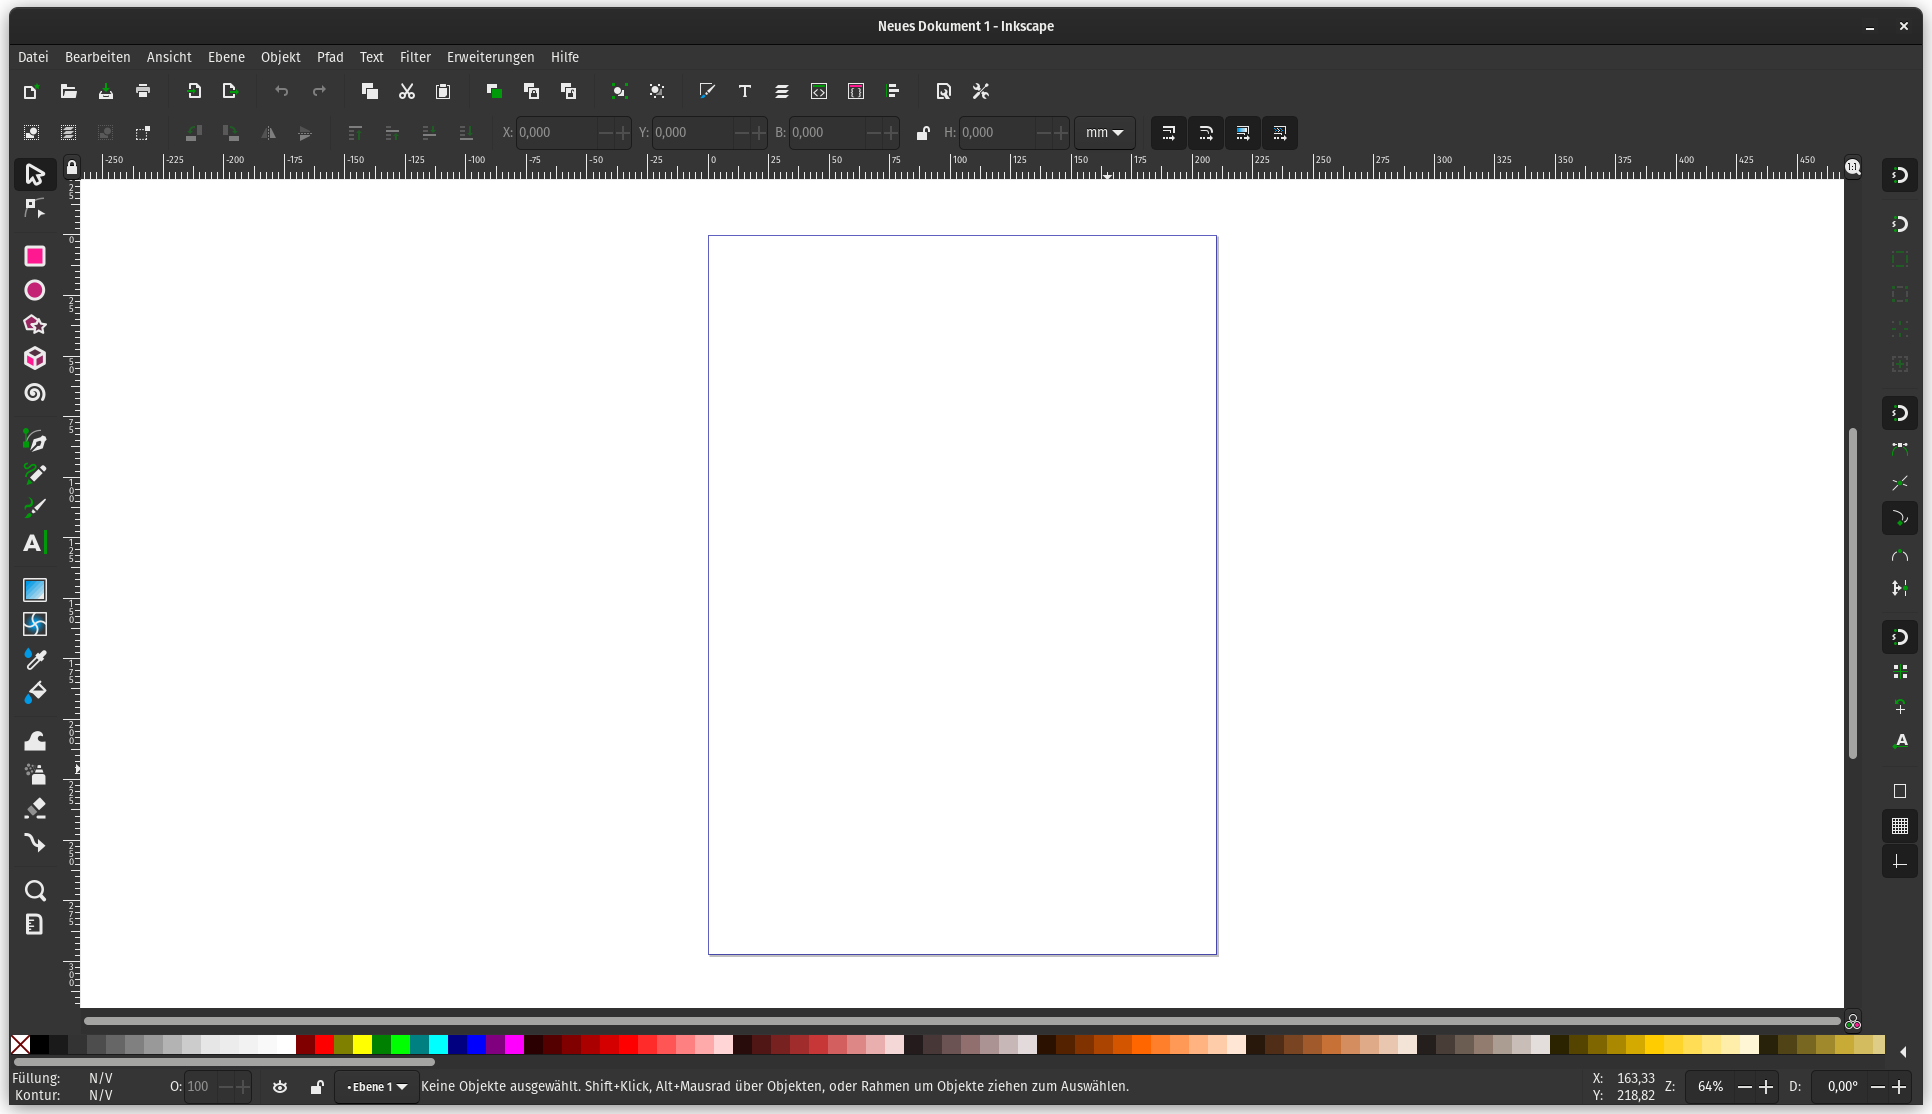
Inkscape (At the time the wiki was created: Version 1.1.2) should look like this:
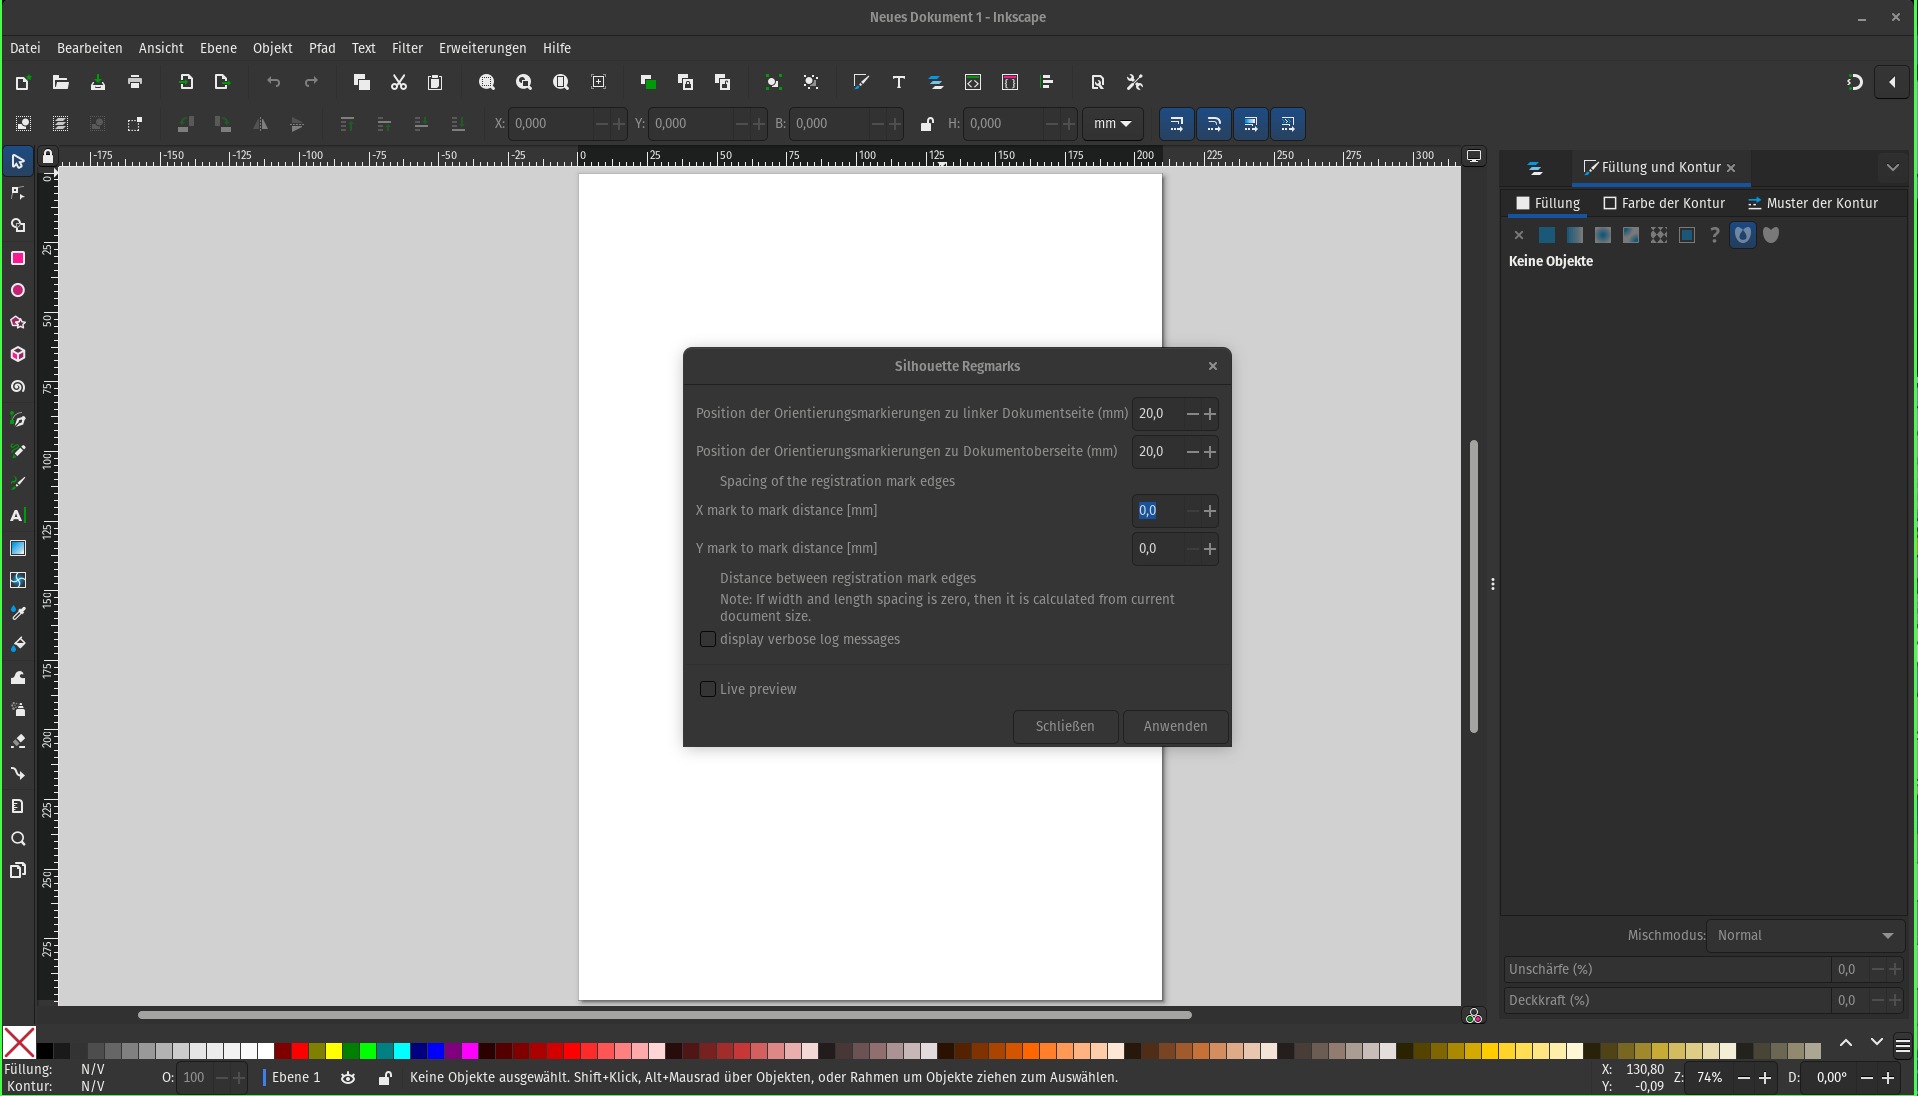
Step 3: Set up regmarks
To set regmarks, these must be selected from the menu under Extensions -> Render.
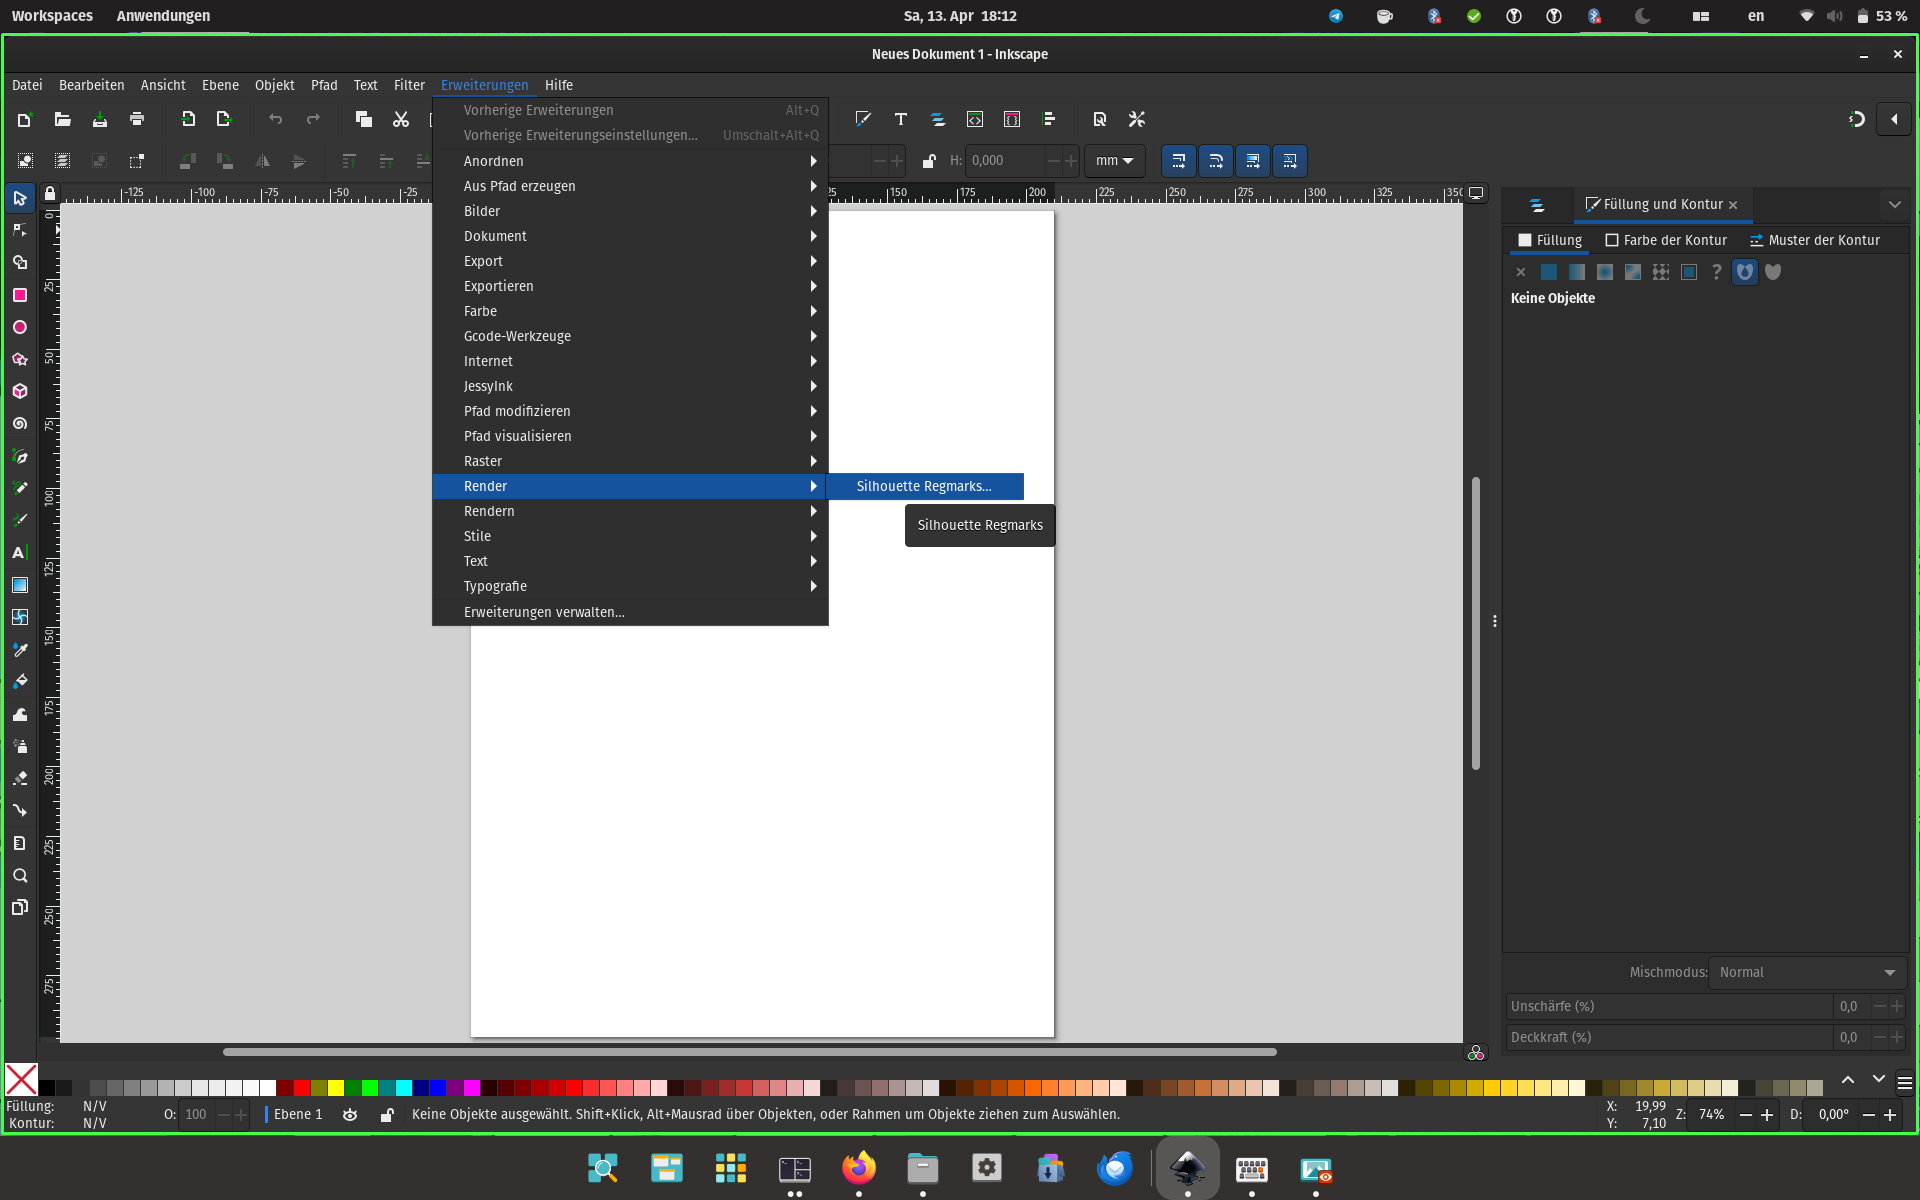
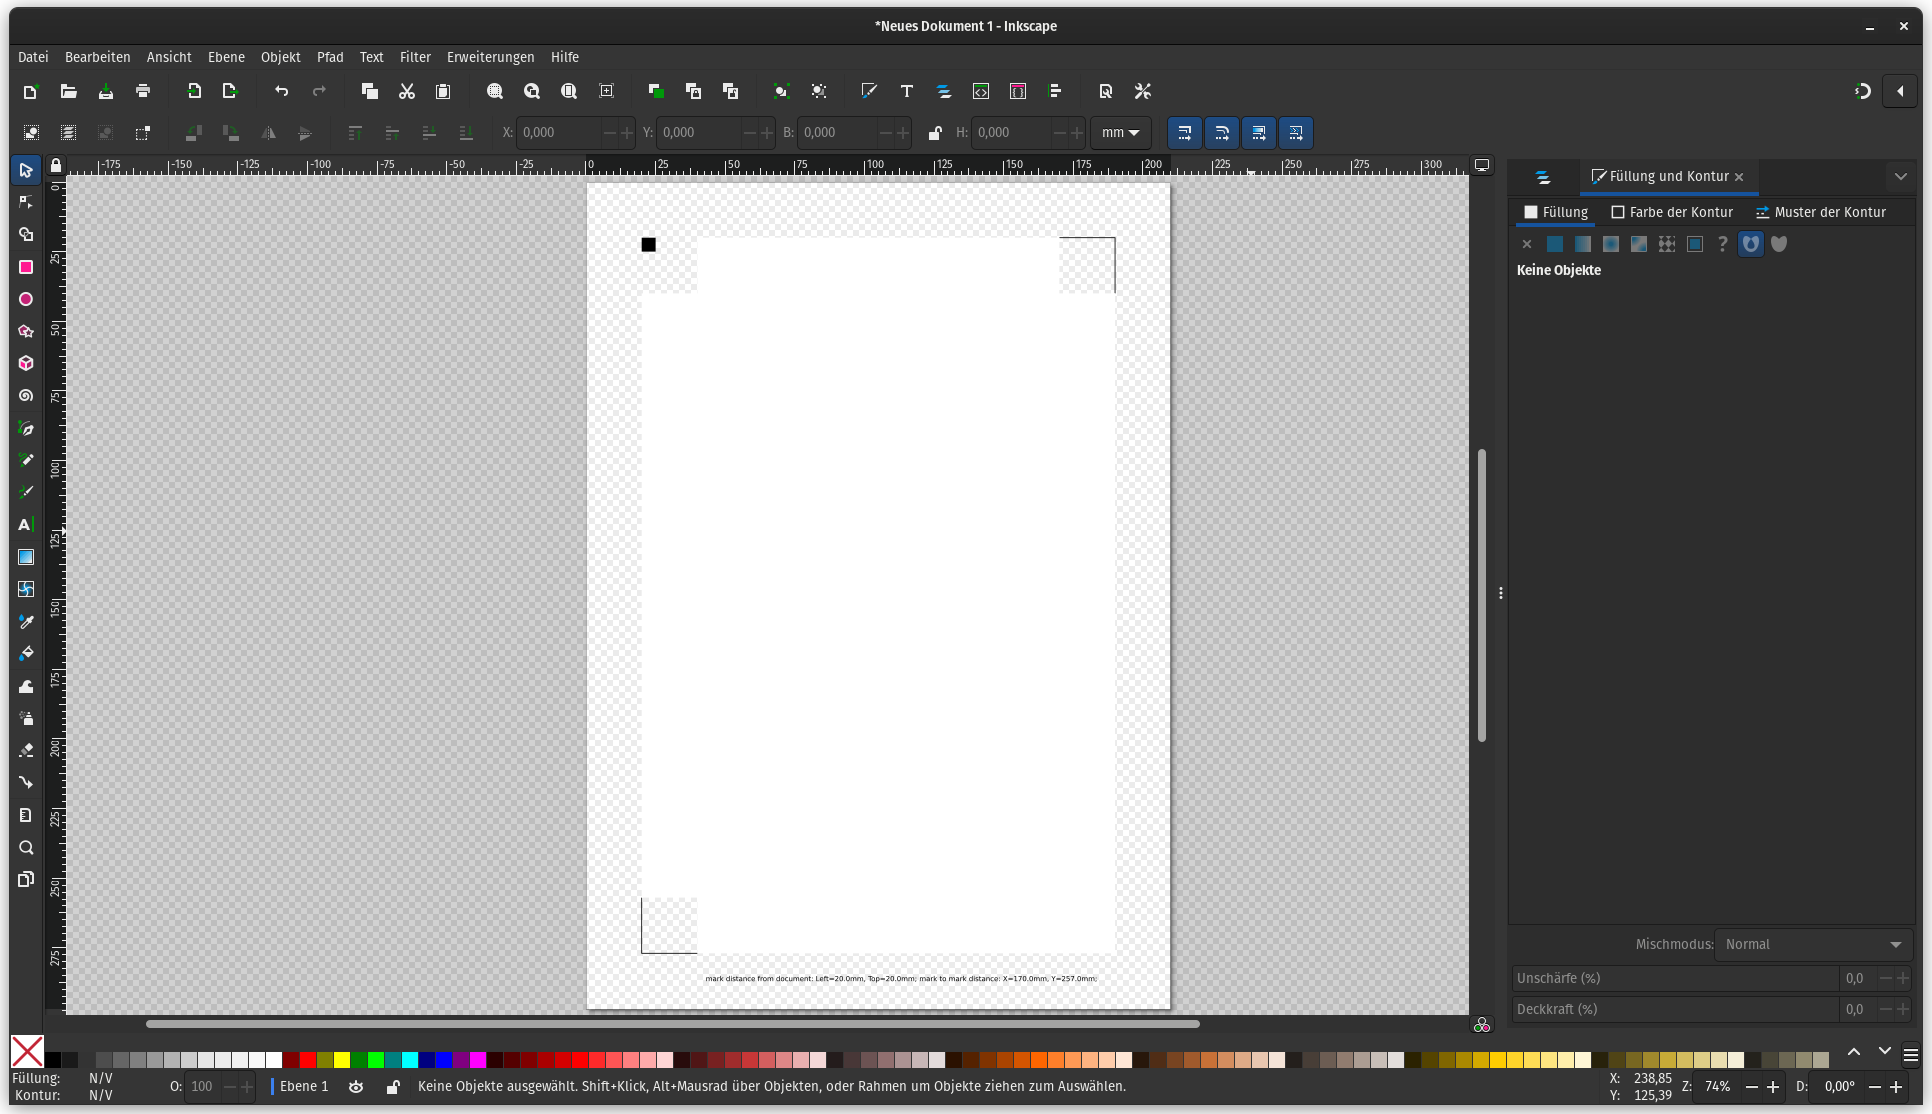
Use at least 20mm x 20mm distance, to make (relatively) sure that it can be plotted after printing. You can close the pop-up after hitting Apply.
After this step Inkscape should look like this:
Step 4: Design your sticker
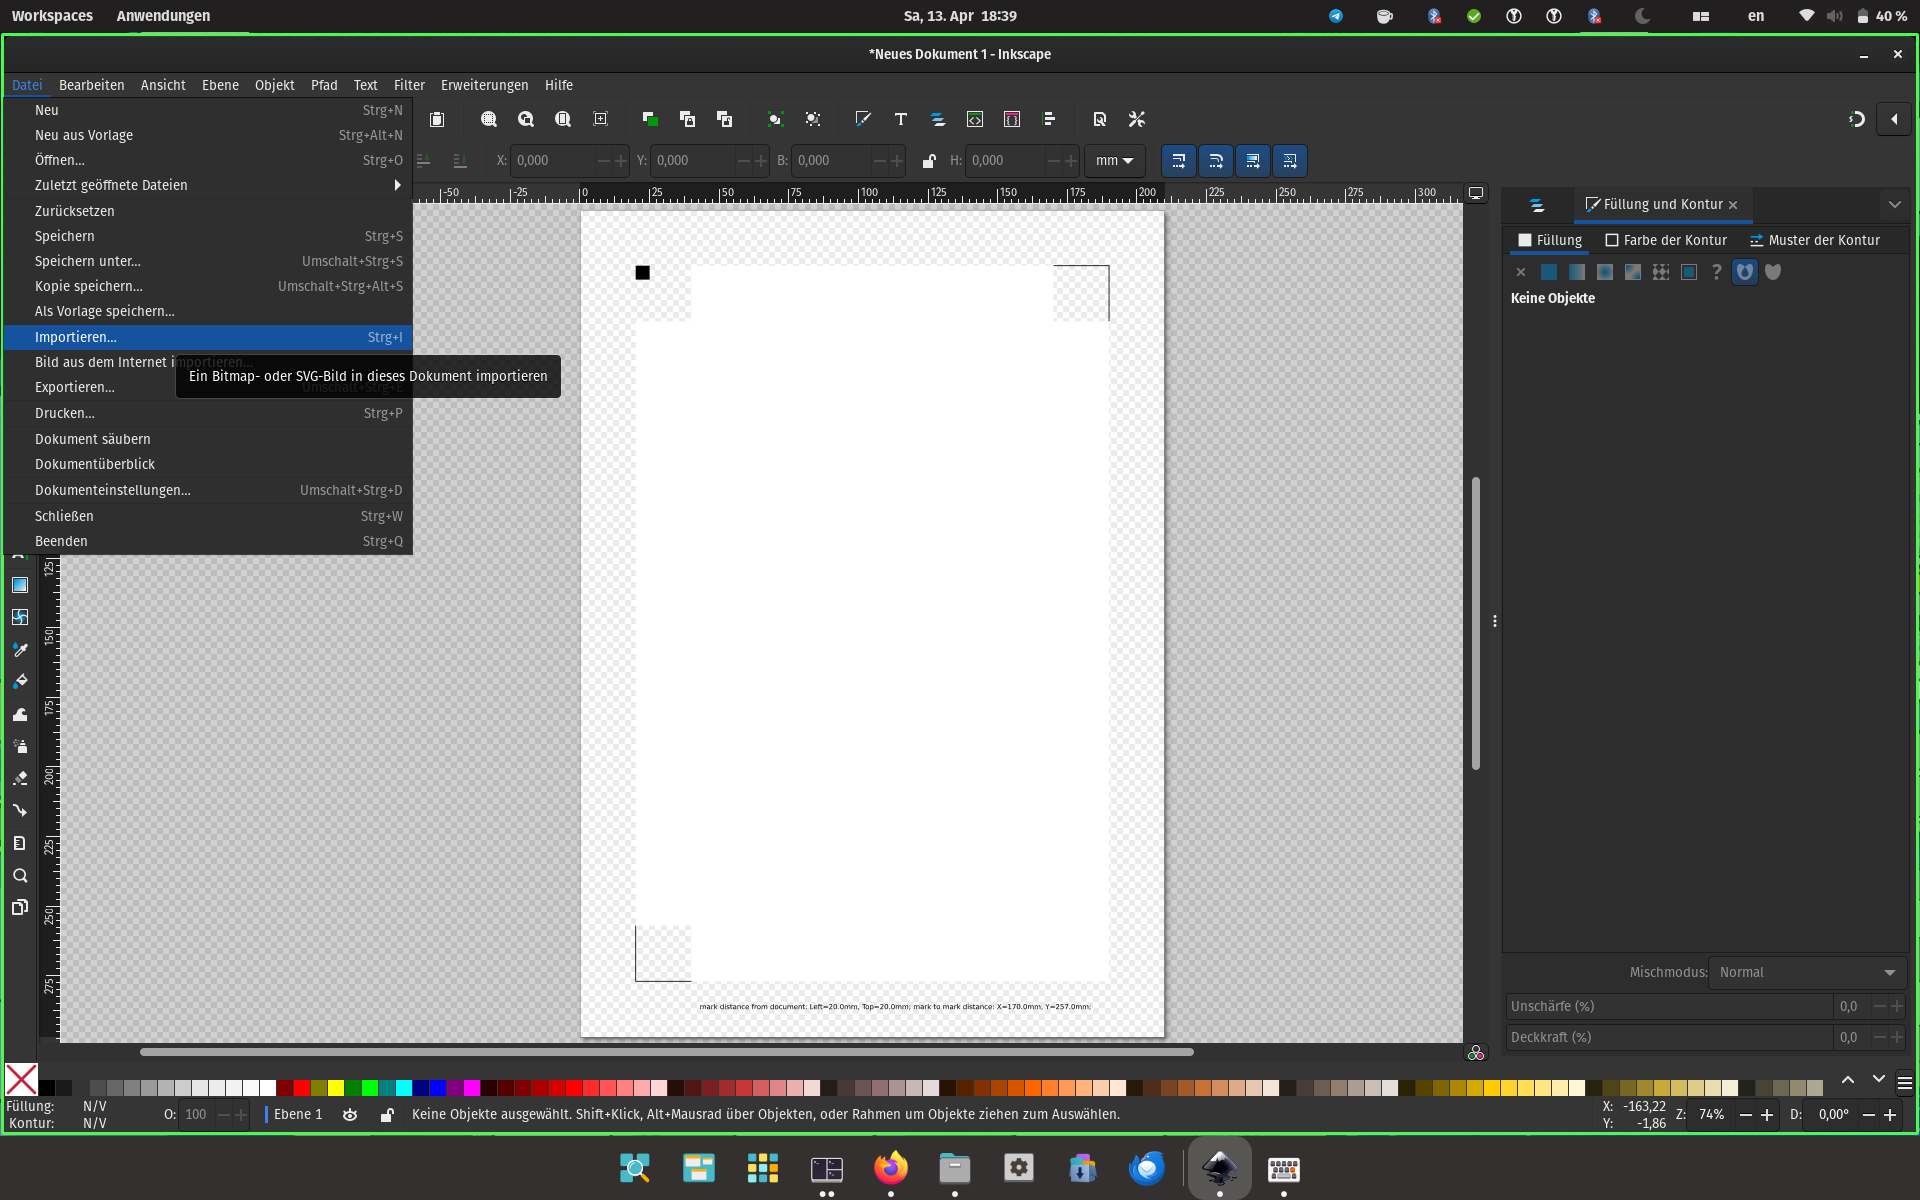
Now you can design your stickers. One way to do this, is to import an image:
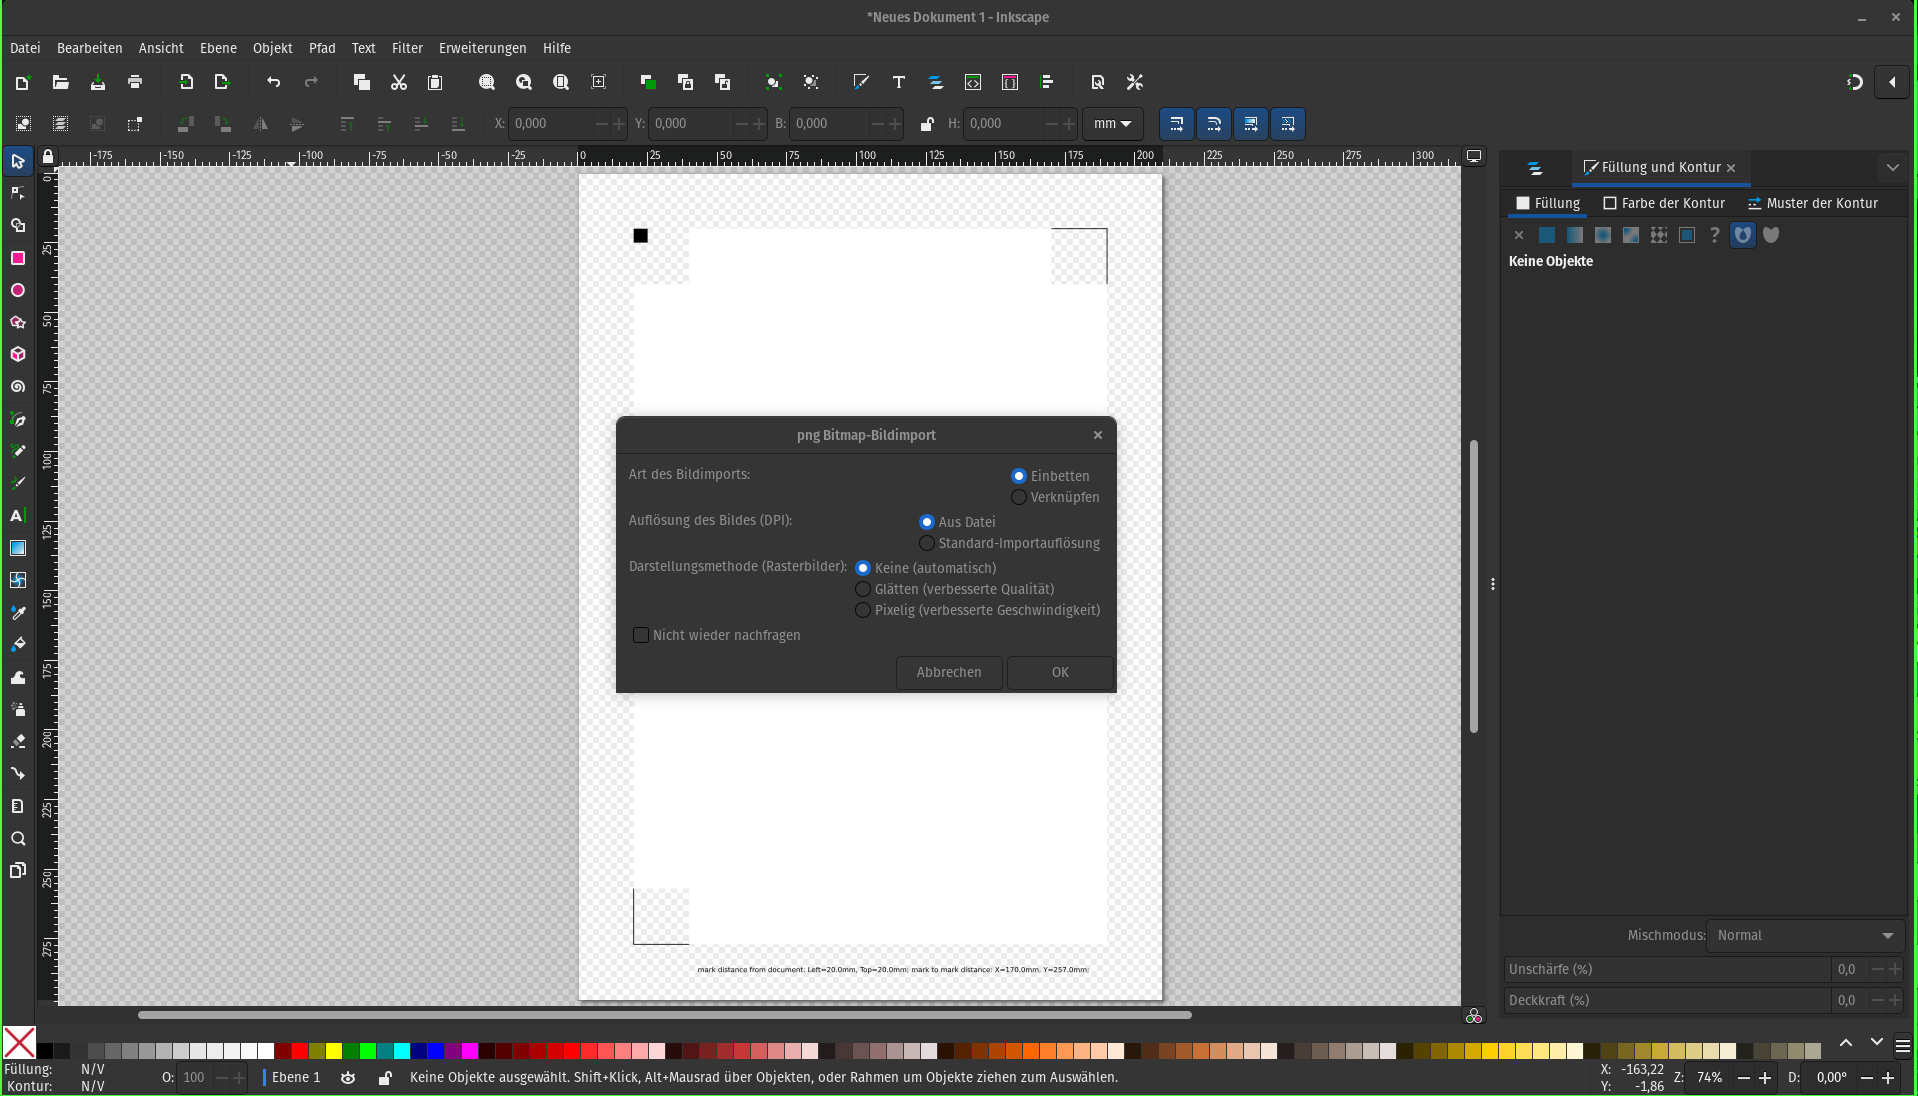
The settings can be ignored in this process.
The imported image may look like this. Obviously this is too large, as it does not fit on DIN A4.
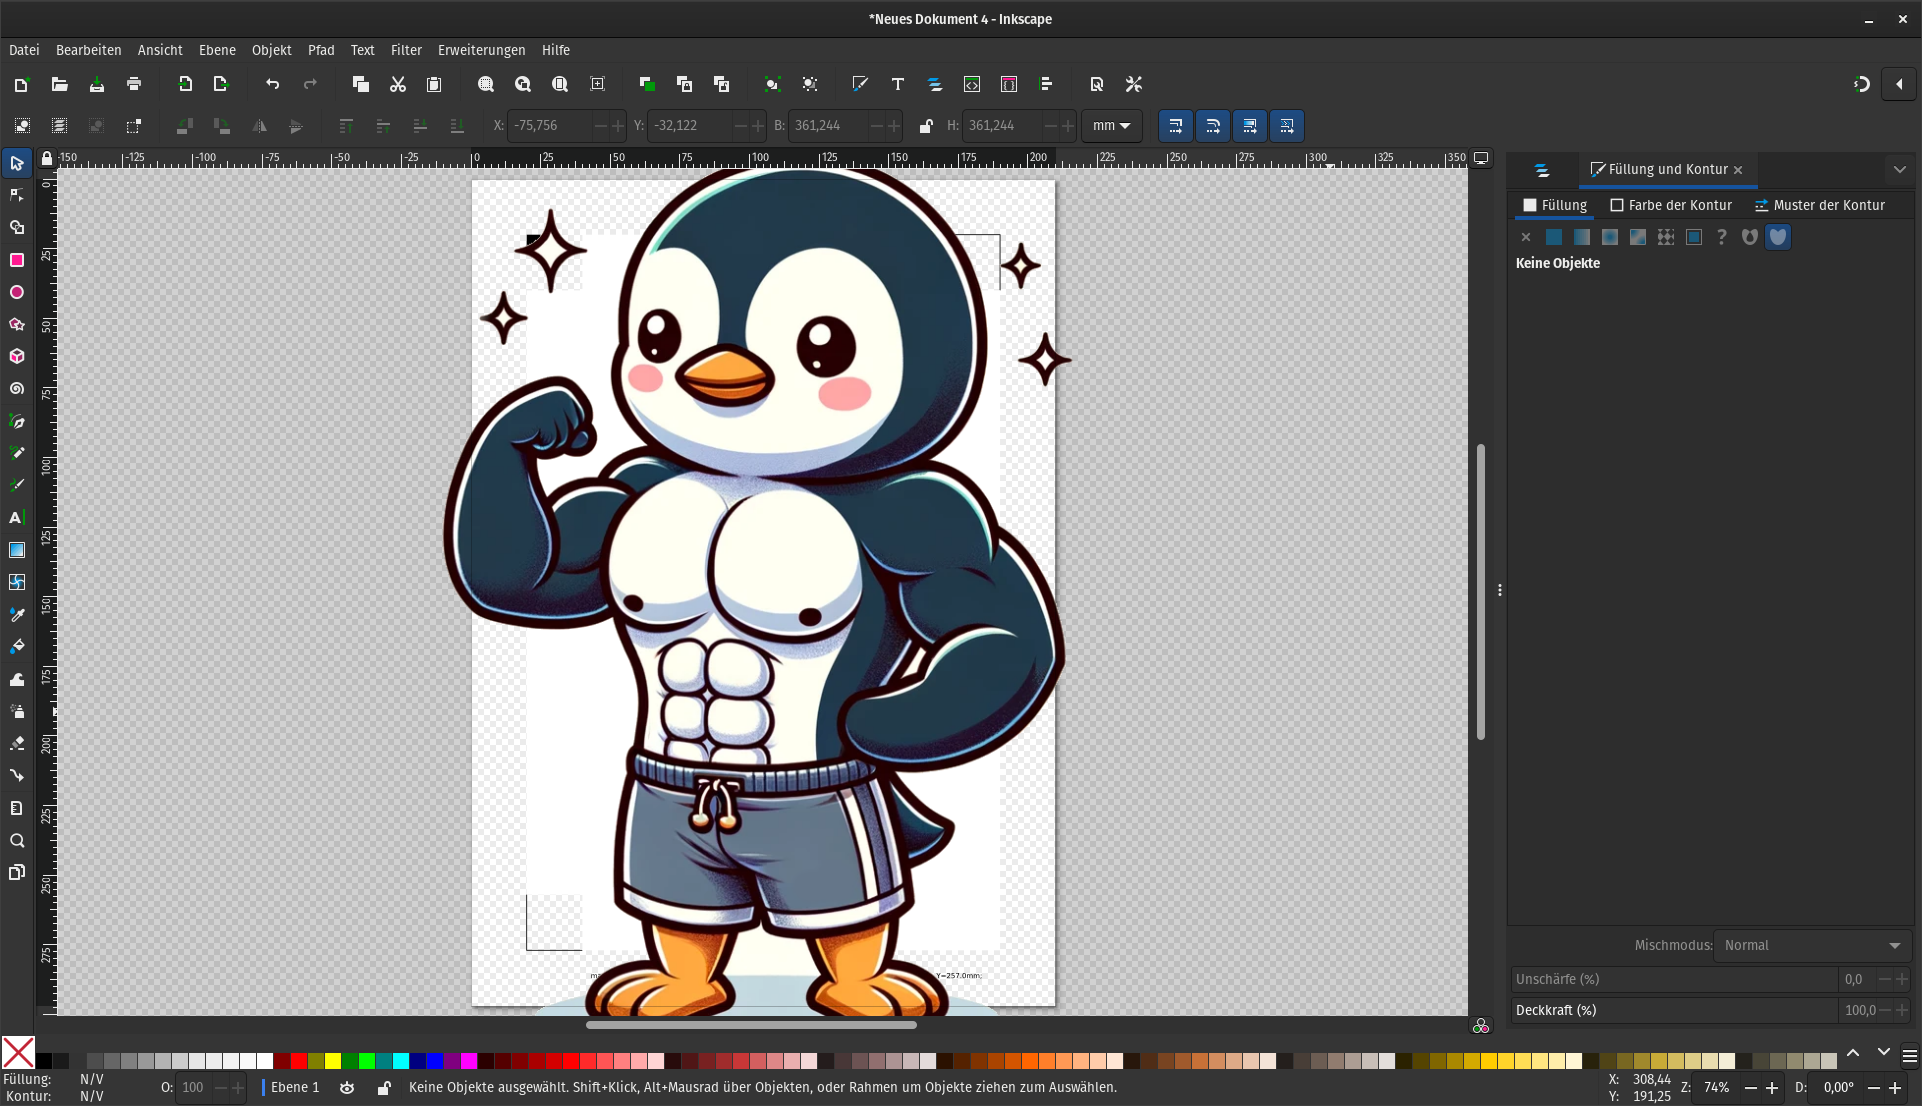
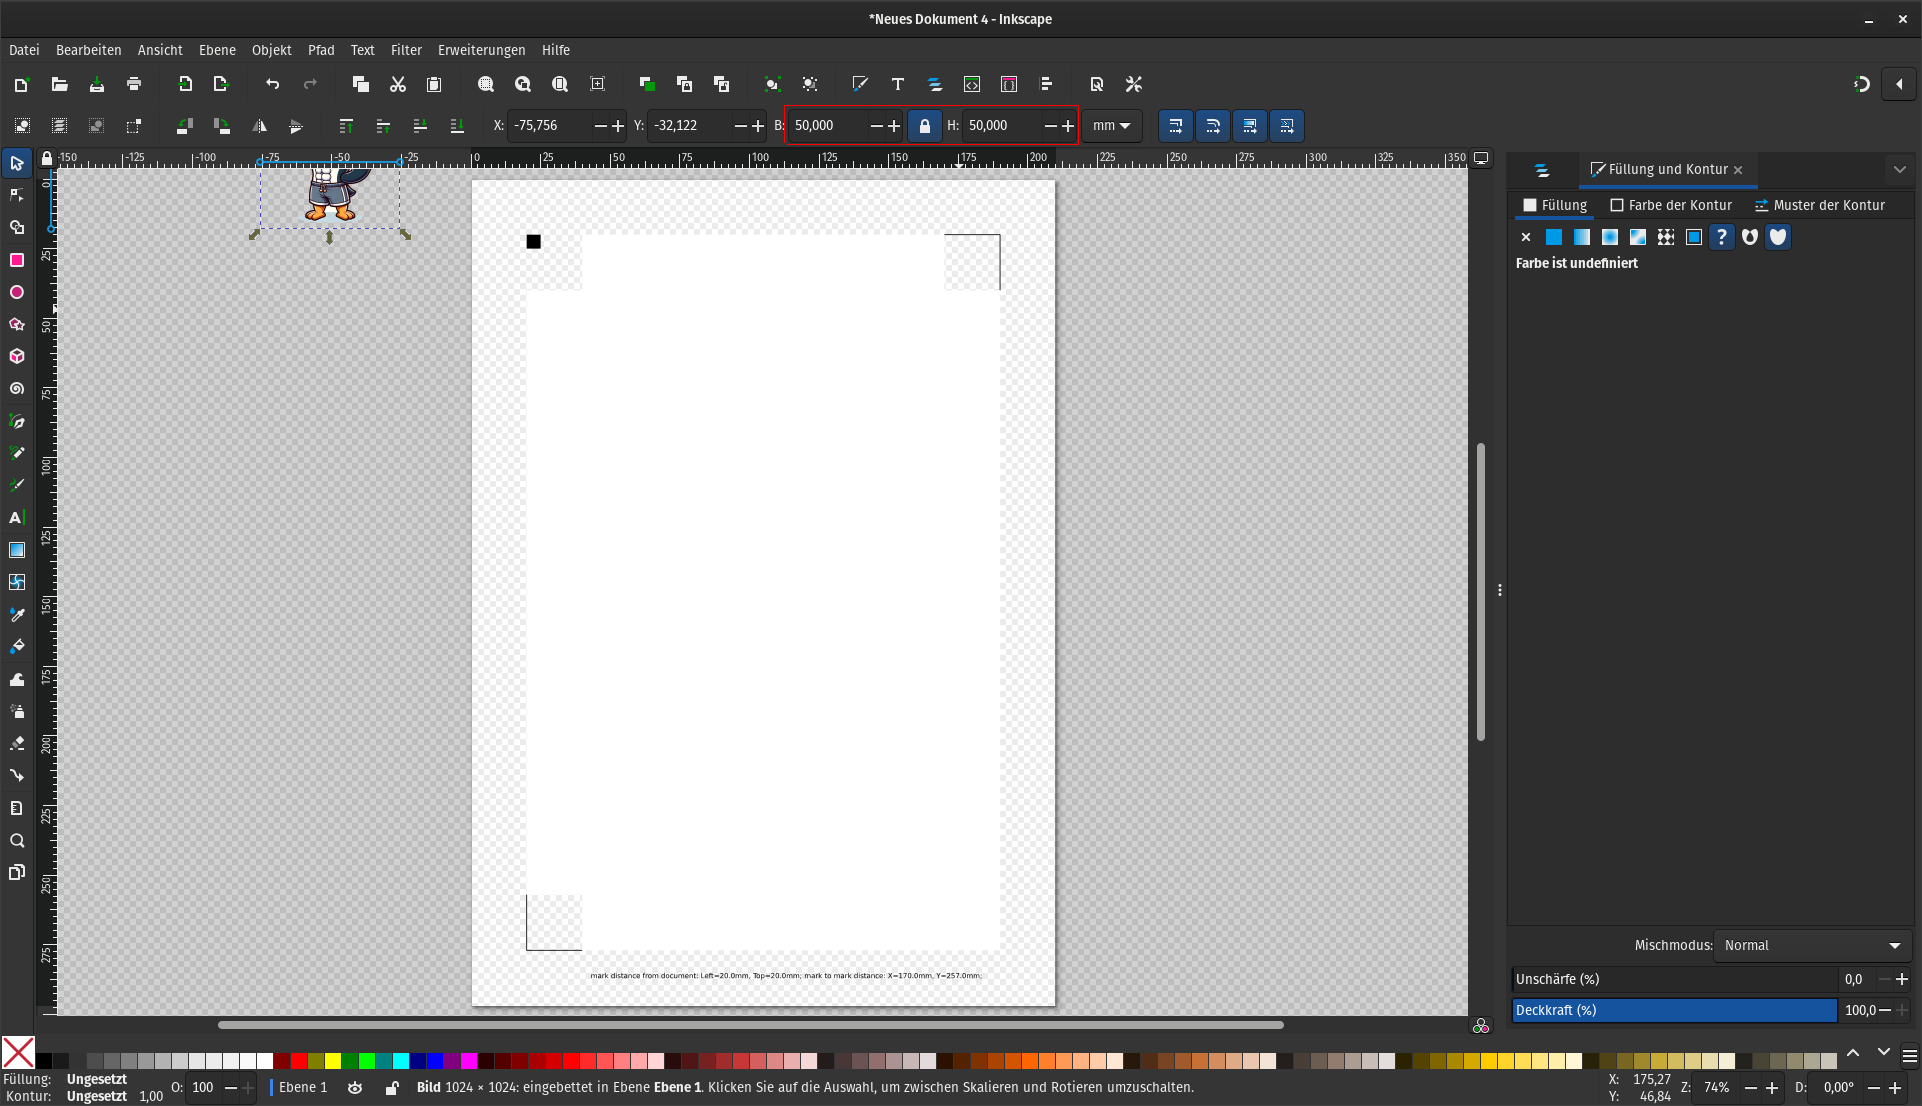
The maximum recommended size is ~5cm x 5cm. This can be changed via W and H. To apply a uniform scale the lock must be selected.
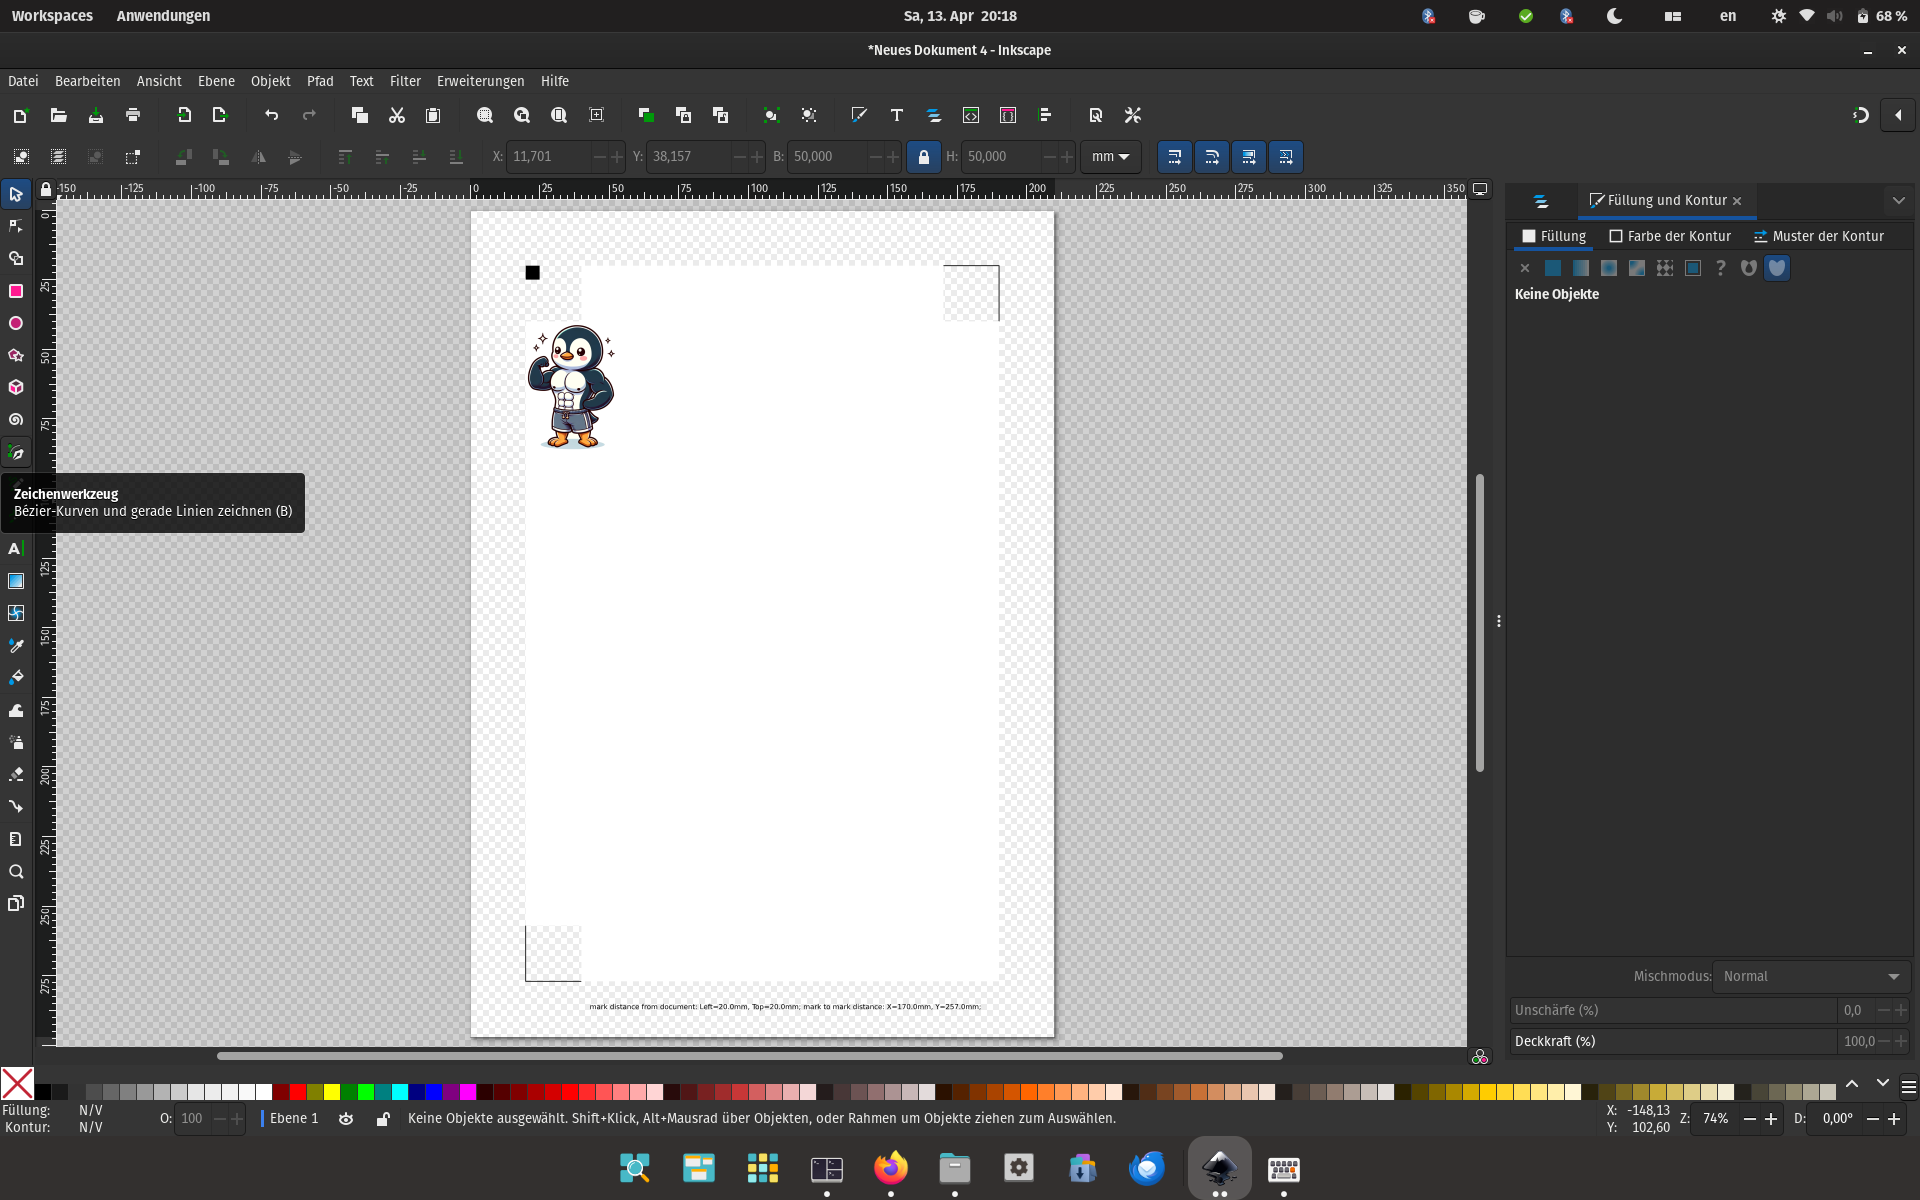
Once the image has been placed in the white area draw a path around it to define where it will be cut out.
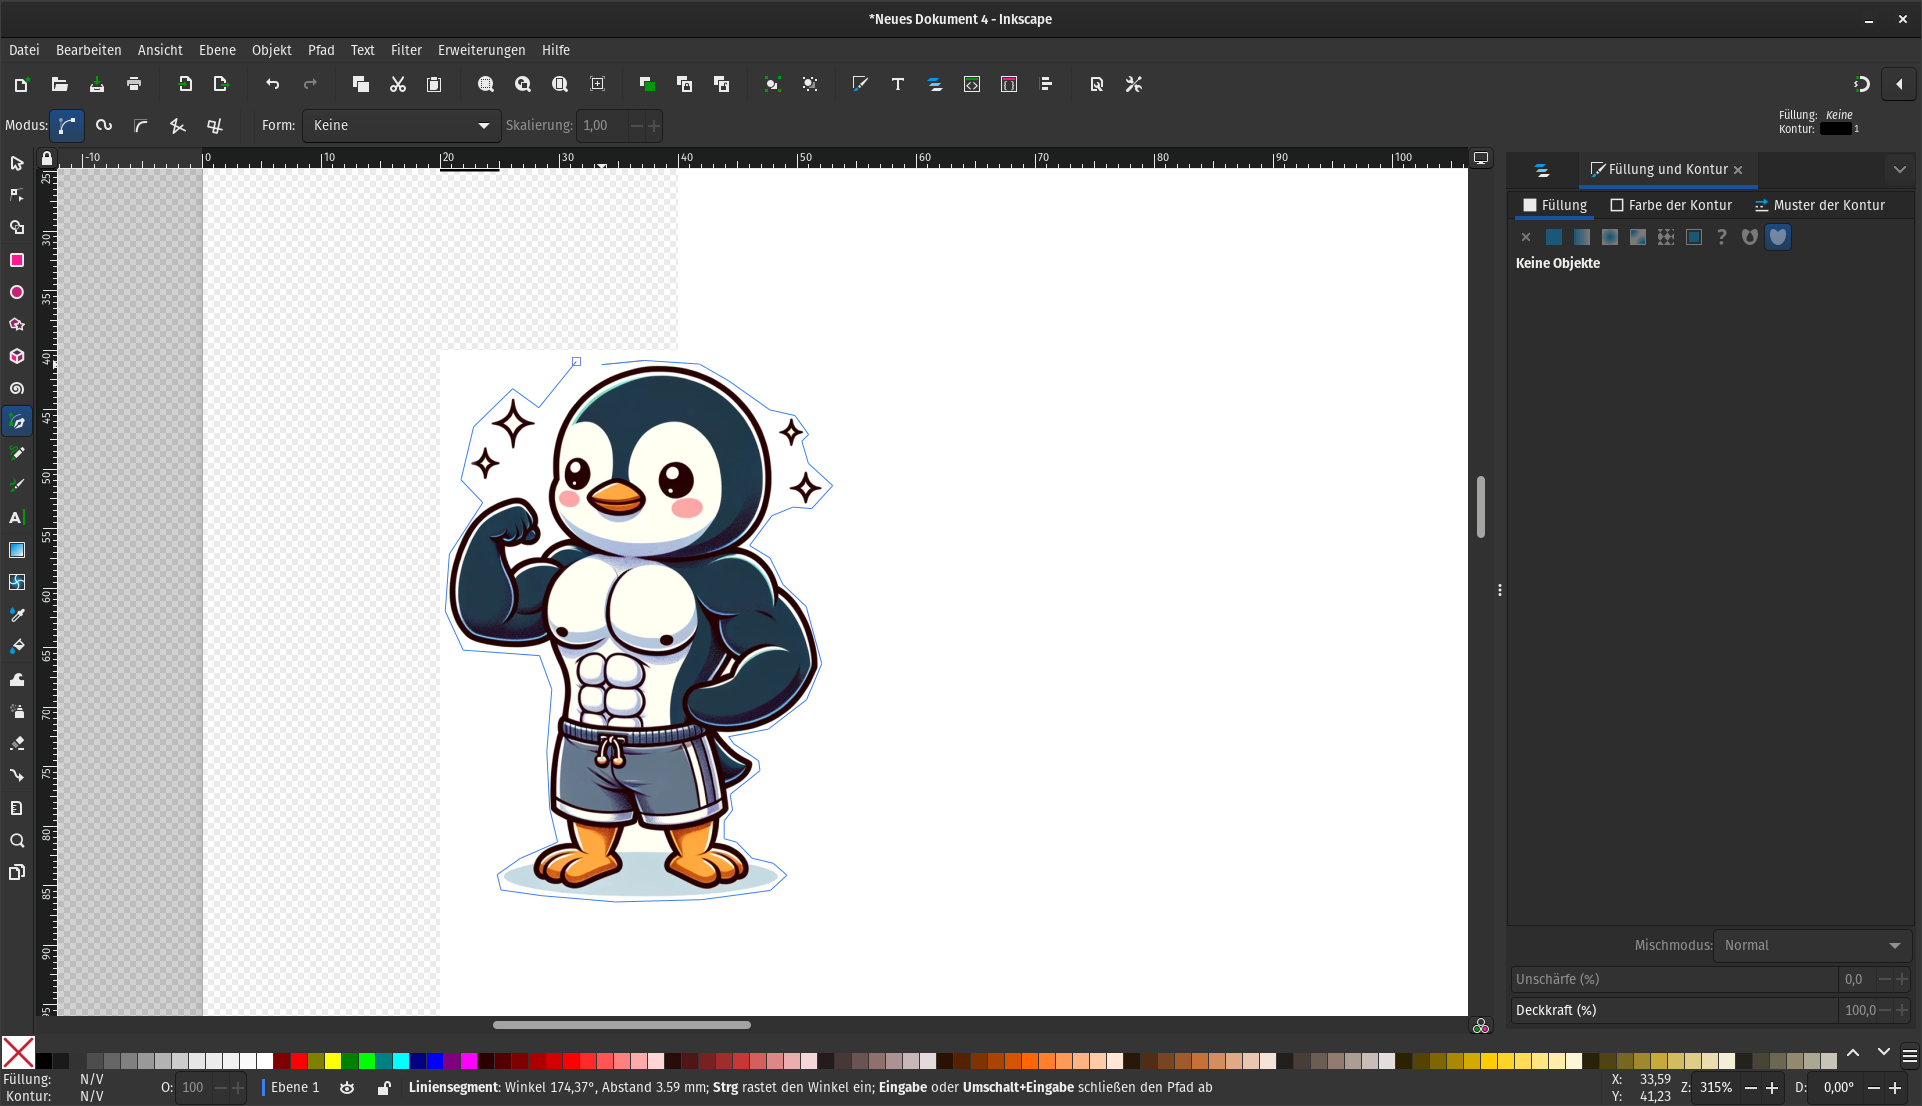
Put the path in a new layer by first creating a layer and moving the path into it.
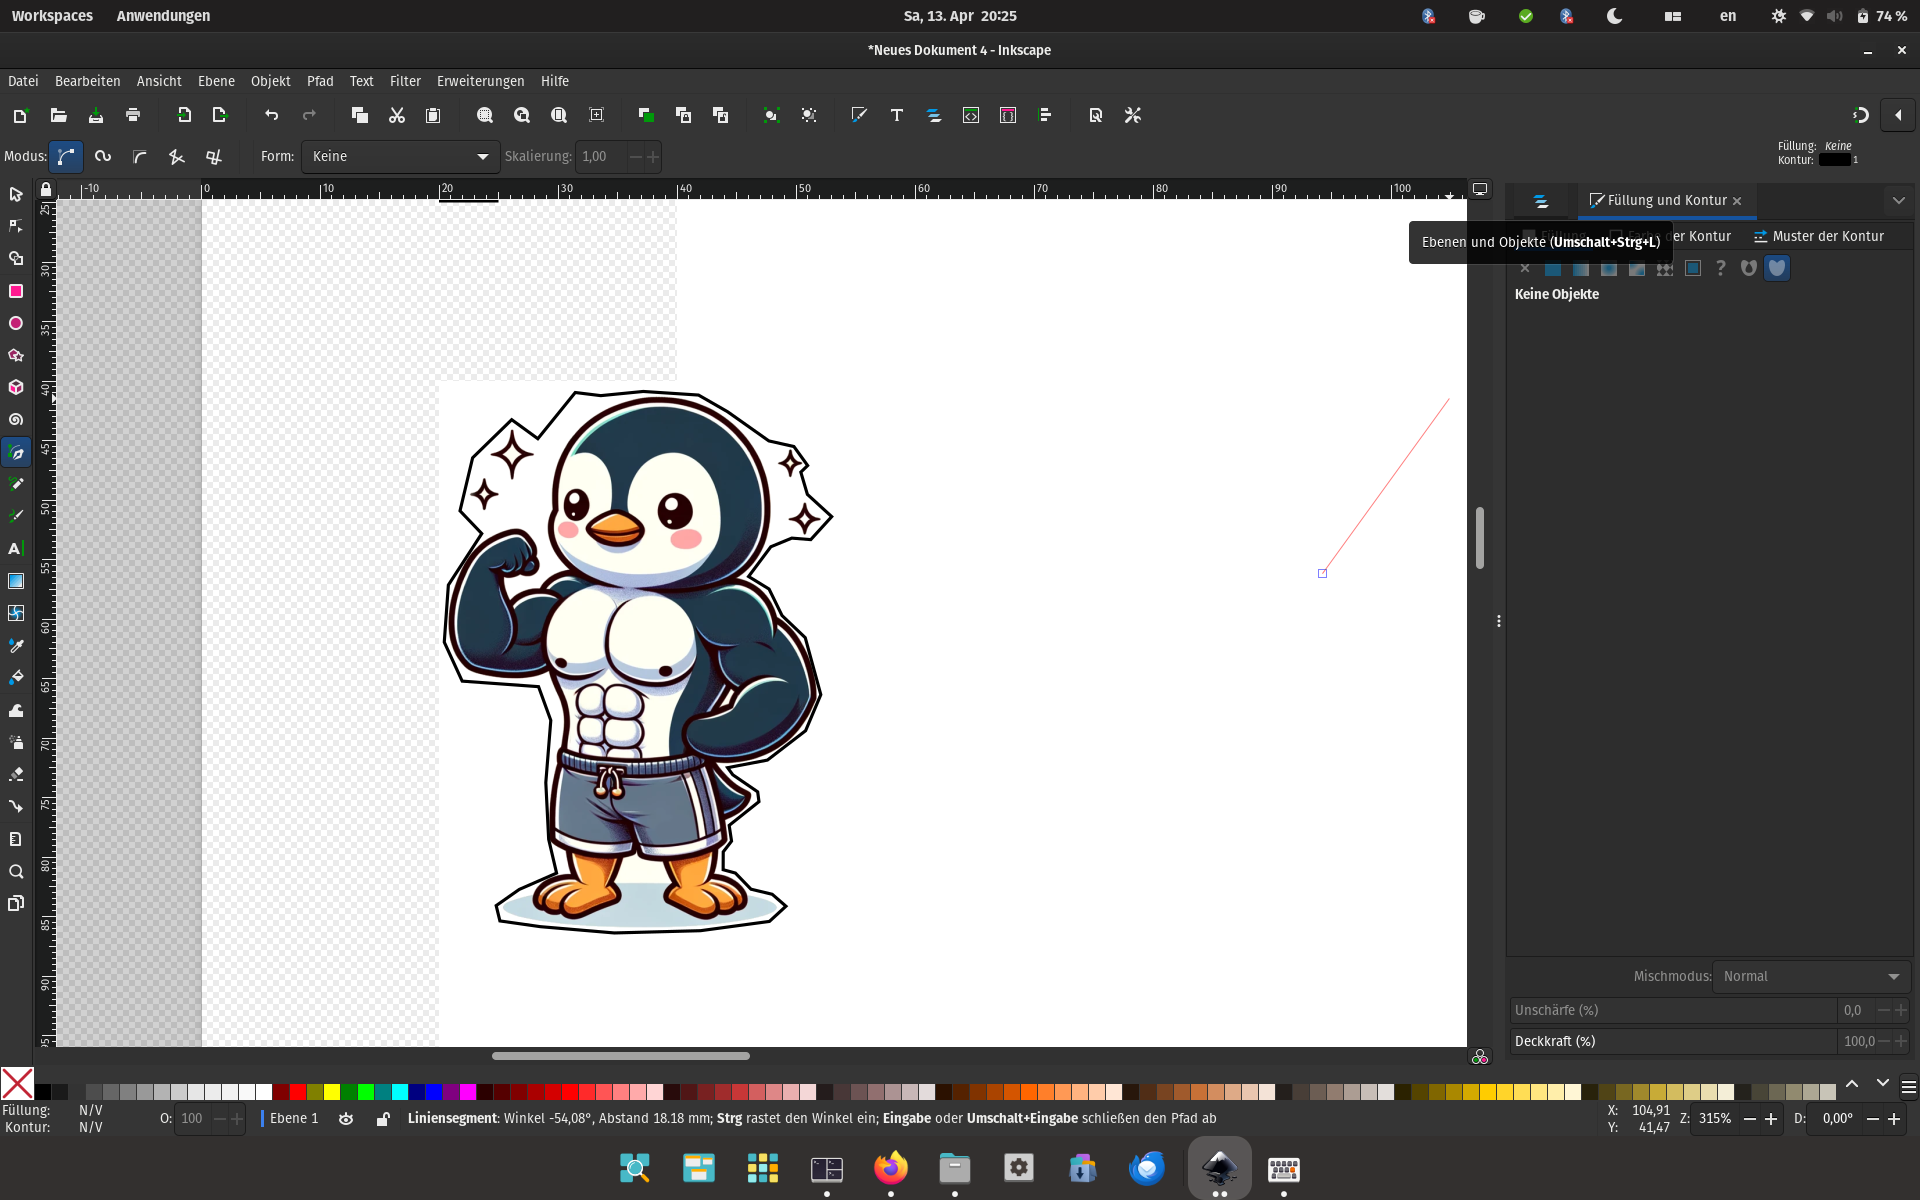
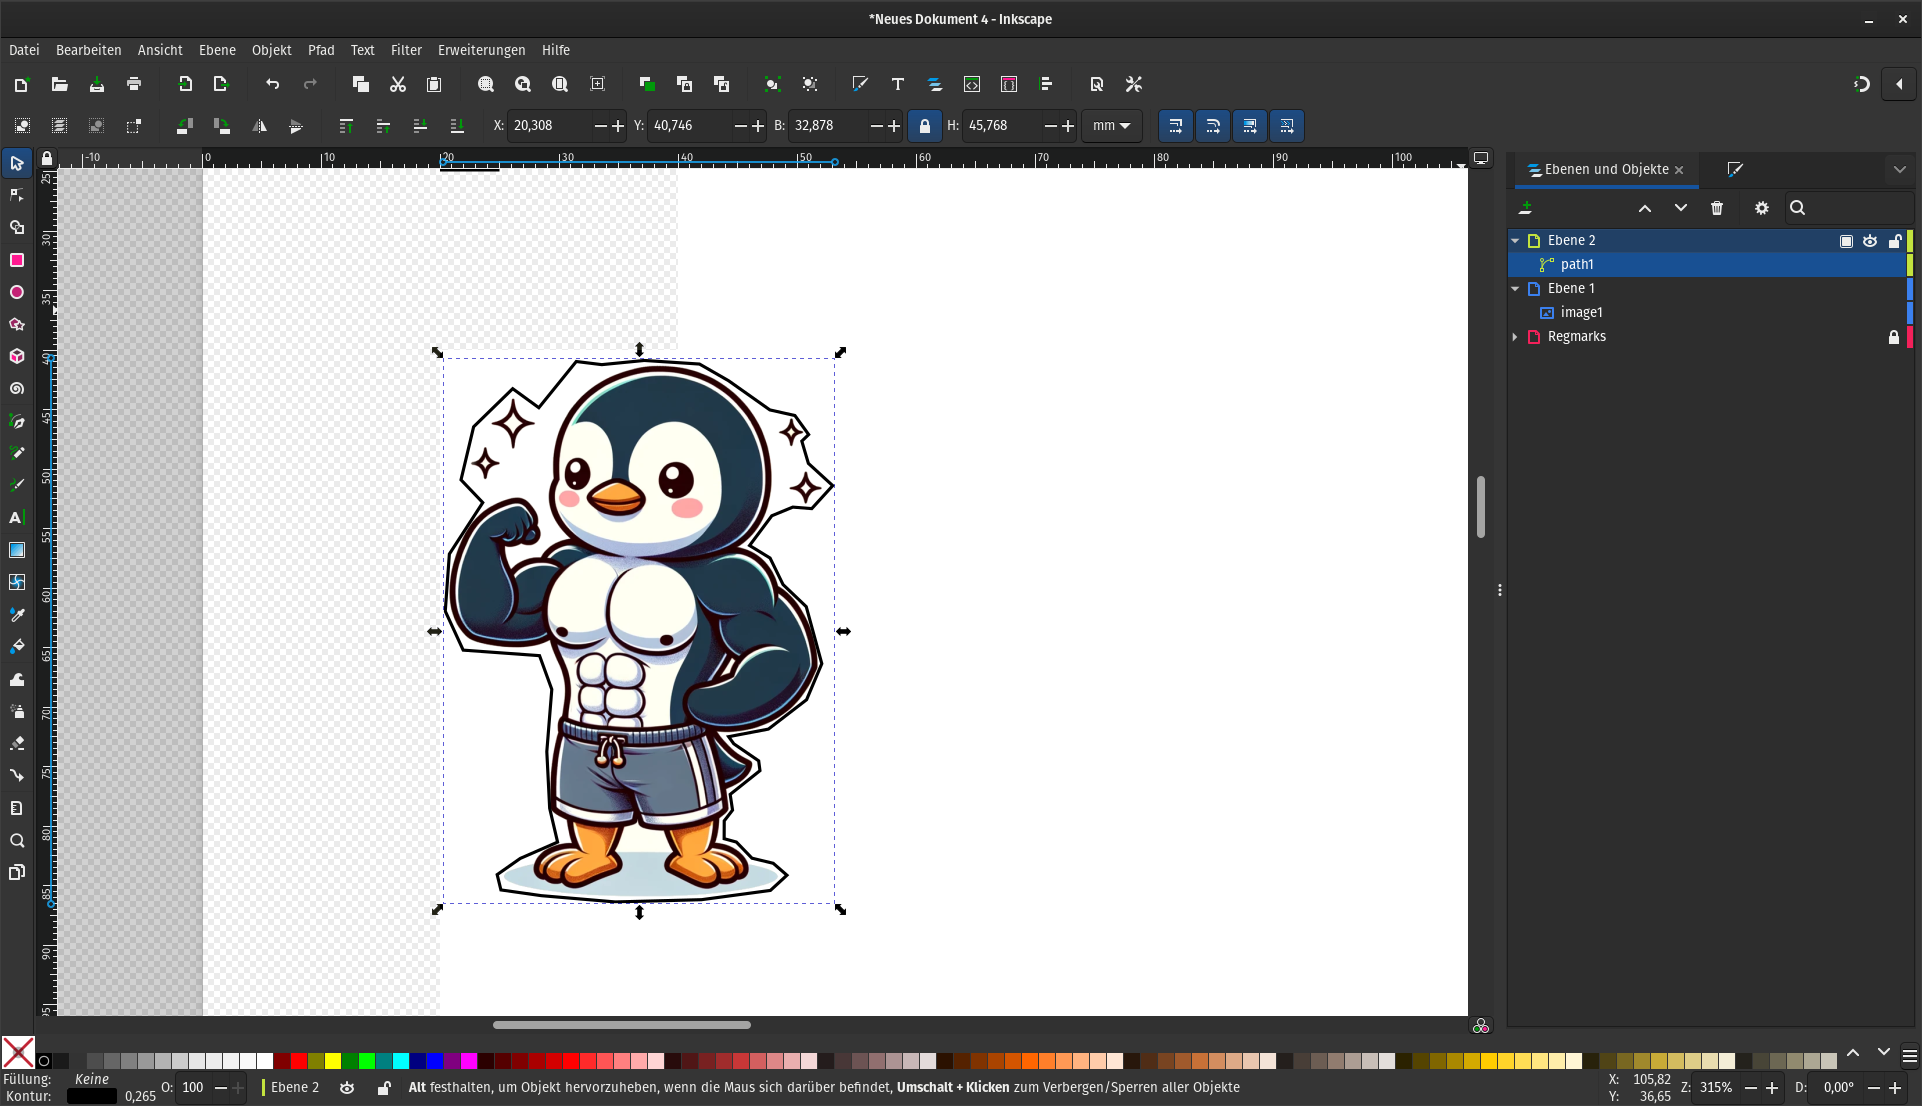
After you have defined a border for your sticker and moved it to a new layer, adjust the border, so that the inevitable inaccuracies in the cutting step are less obvious. To do that double click on the border and press Ctrl+A to select all the nodes on the border. Now click on “Make selected nodes auto-smooth”.
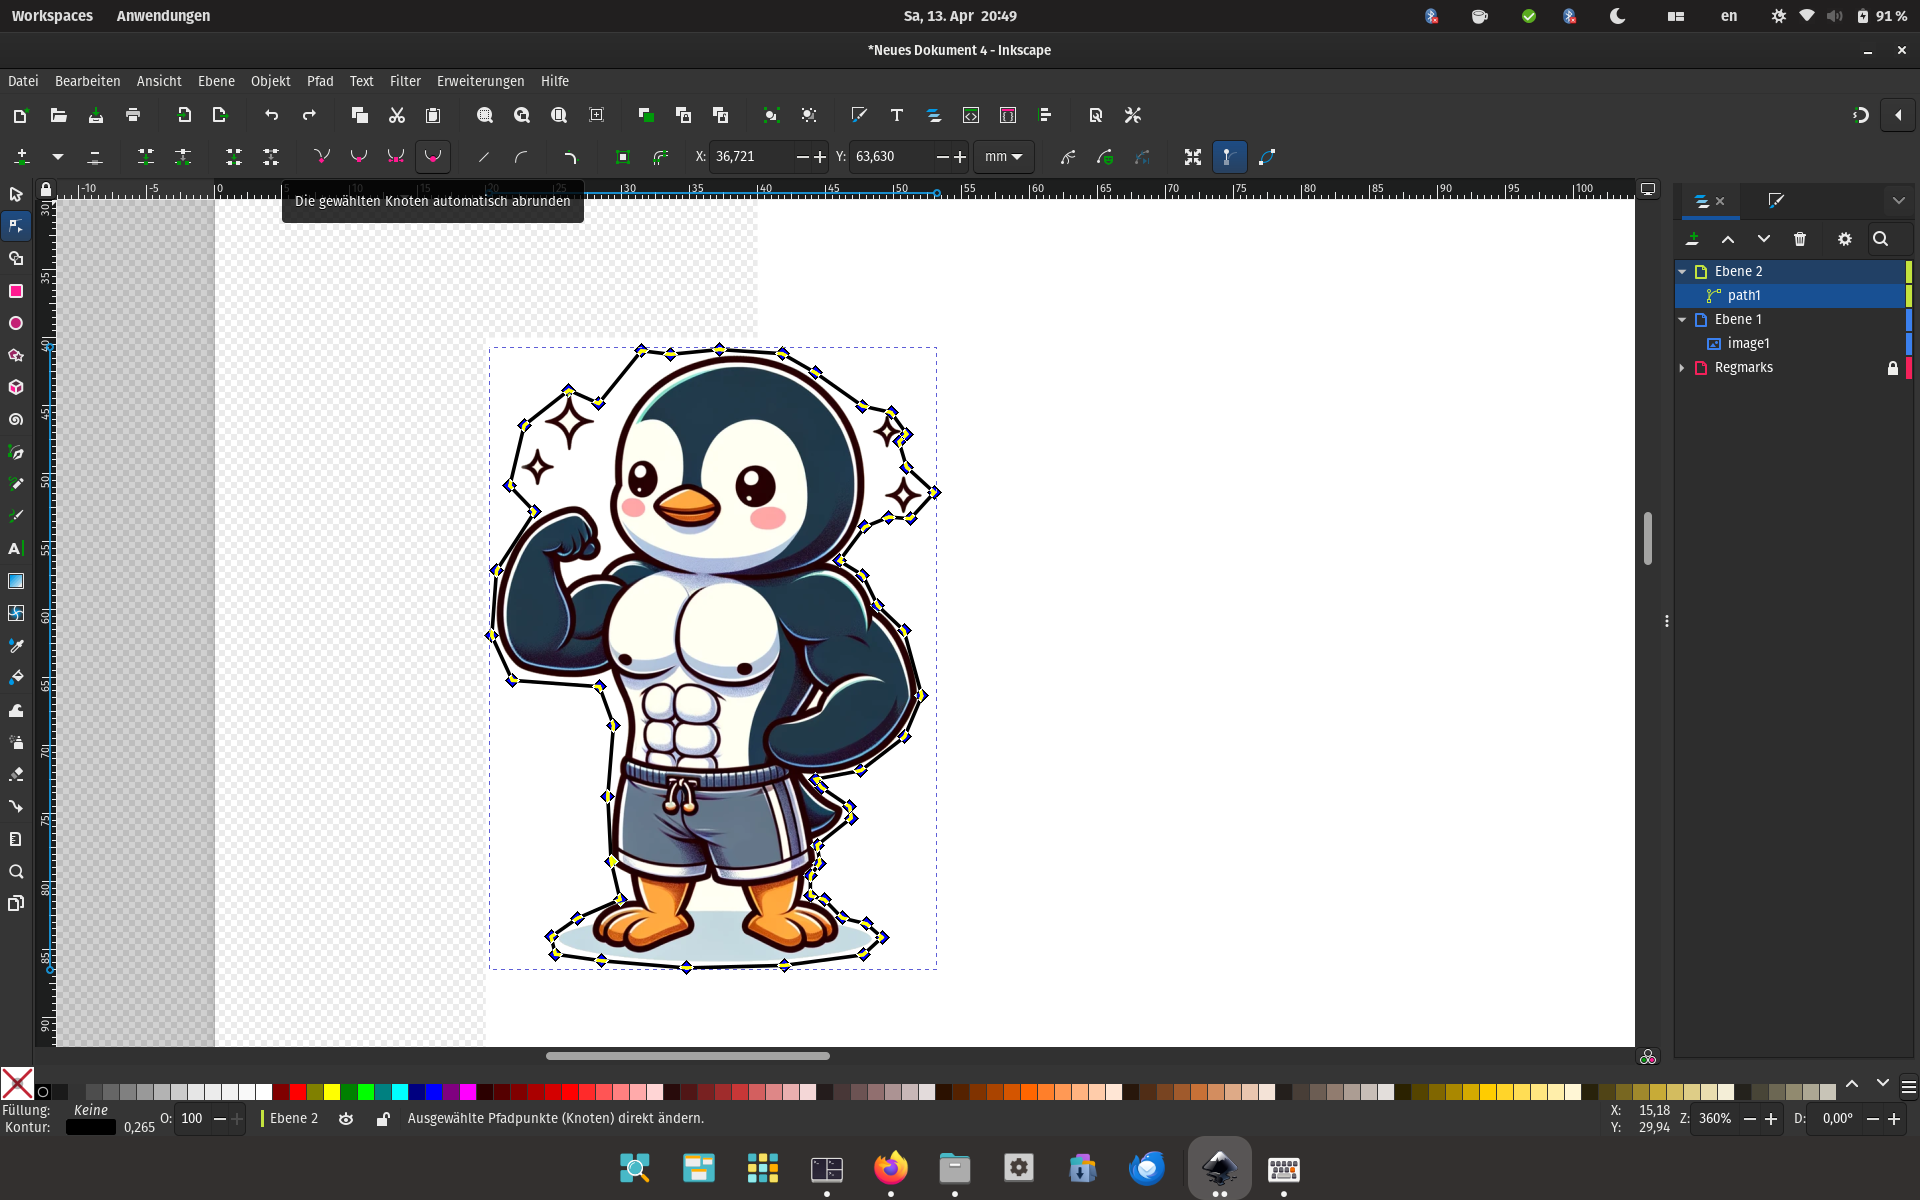
Now click on “Make selected nodes auto-smooth”.
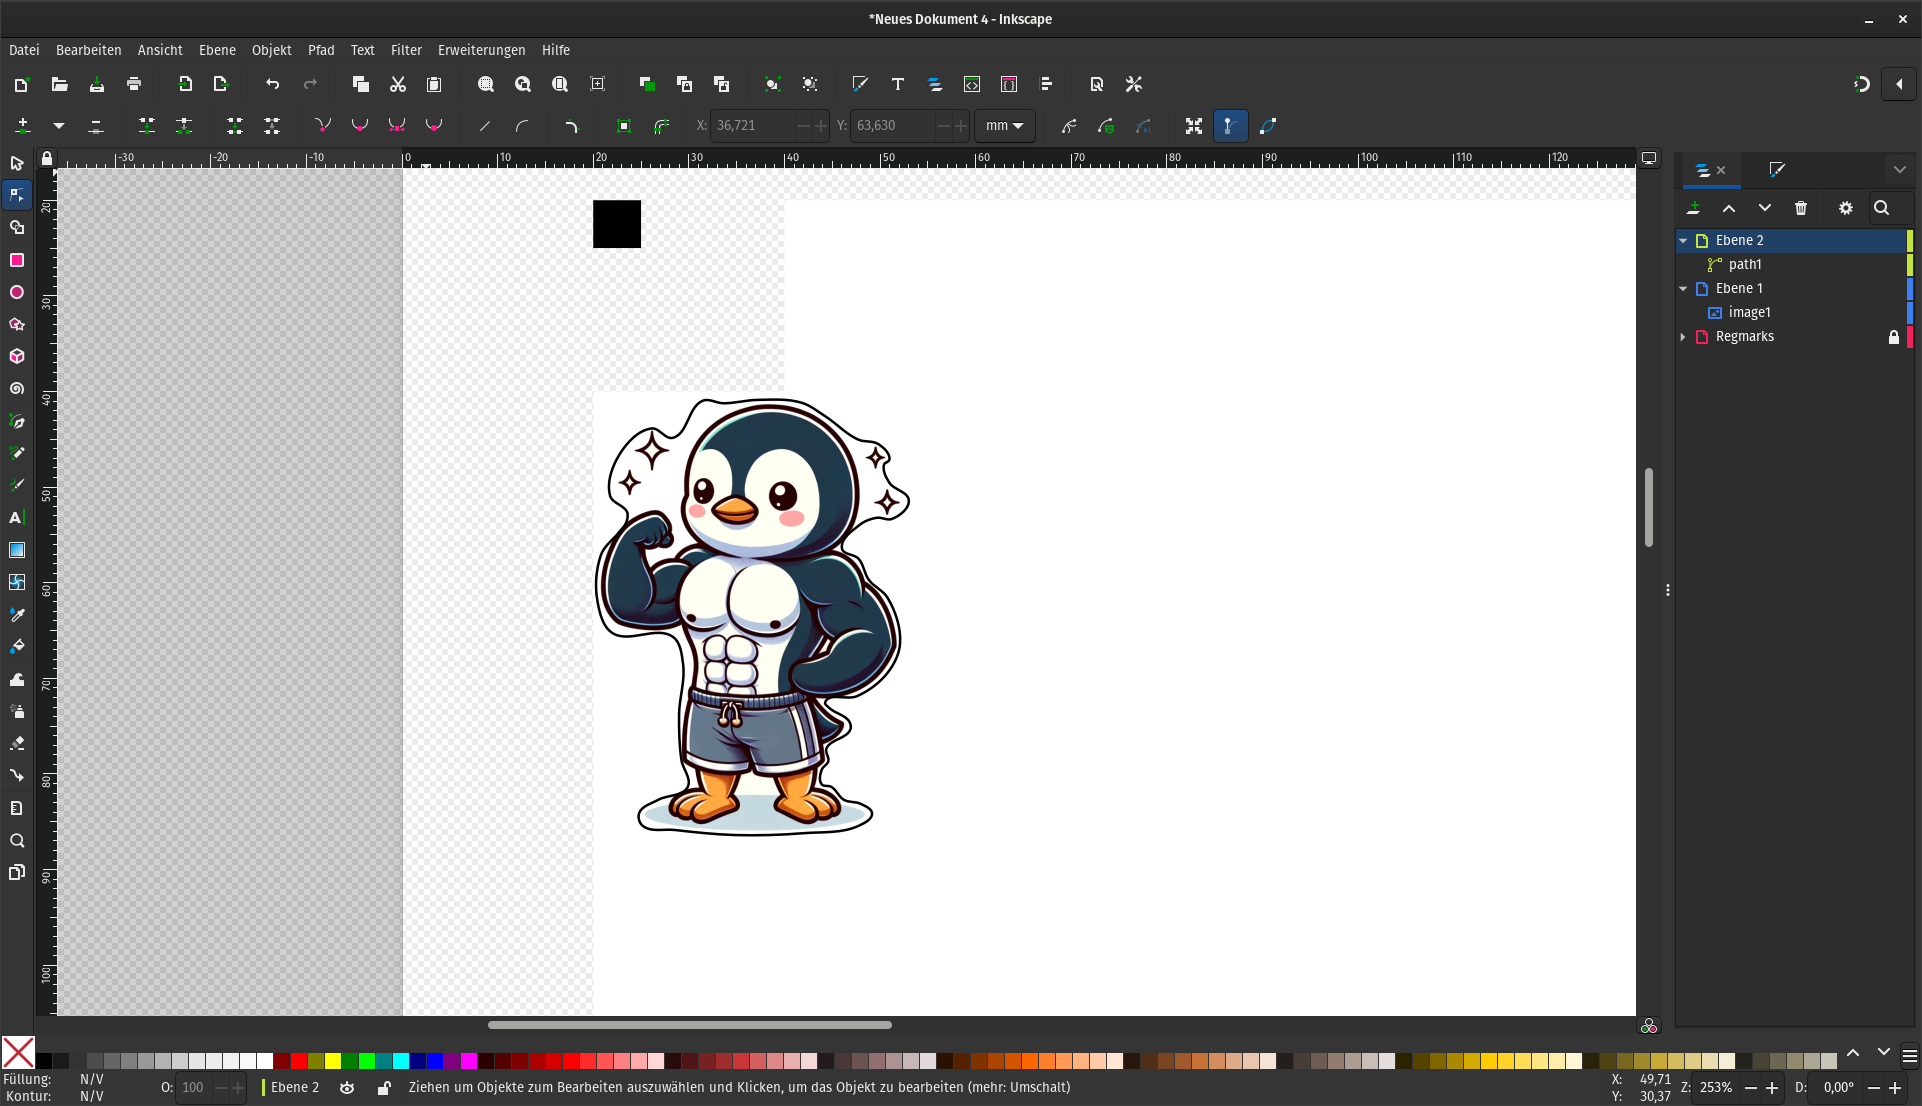
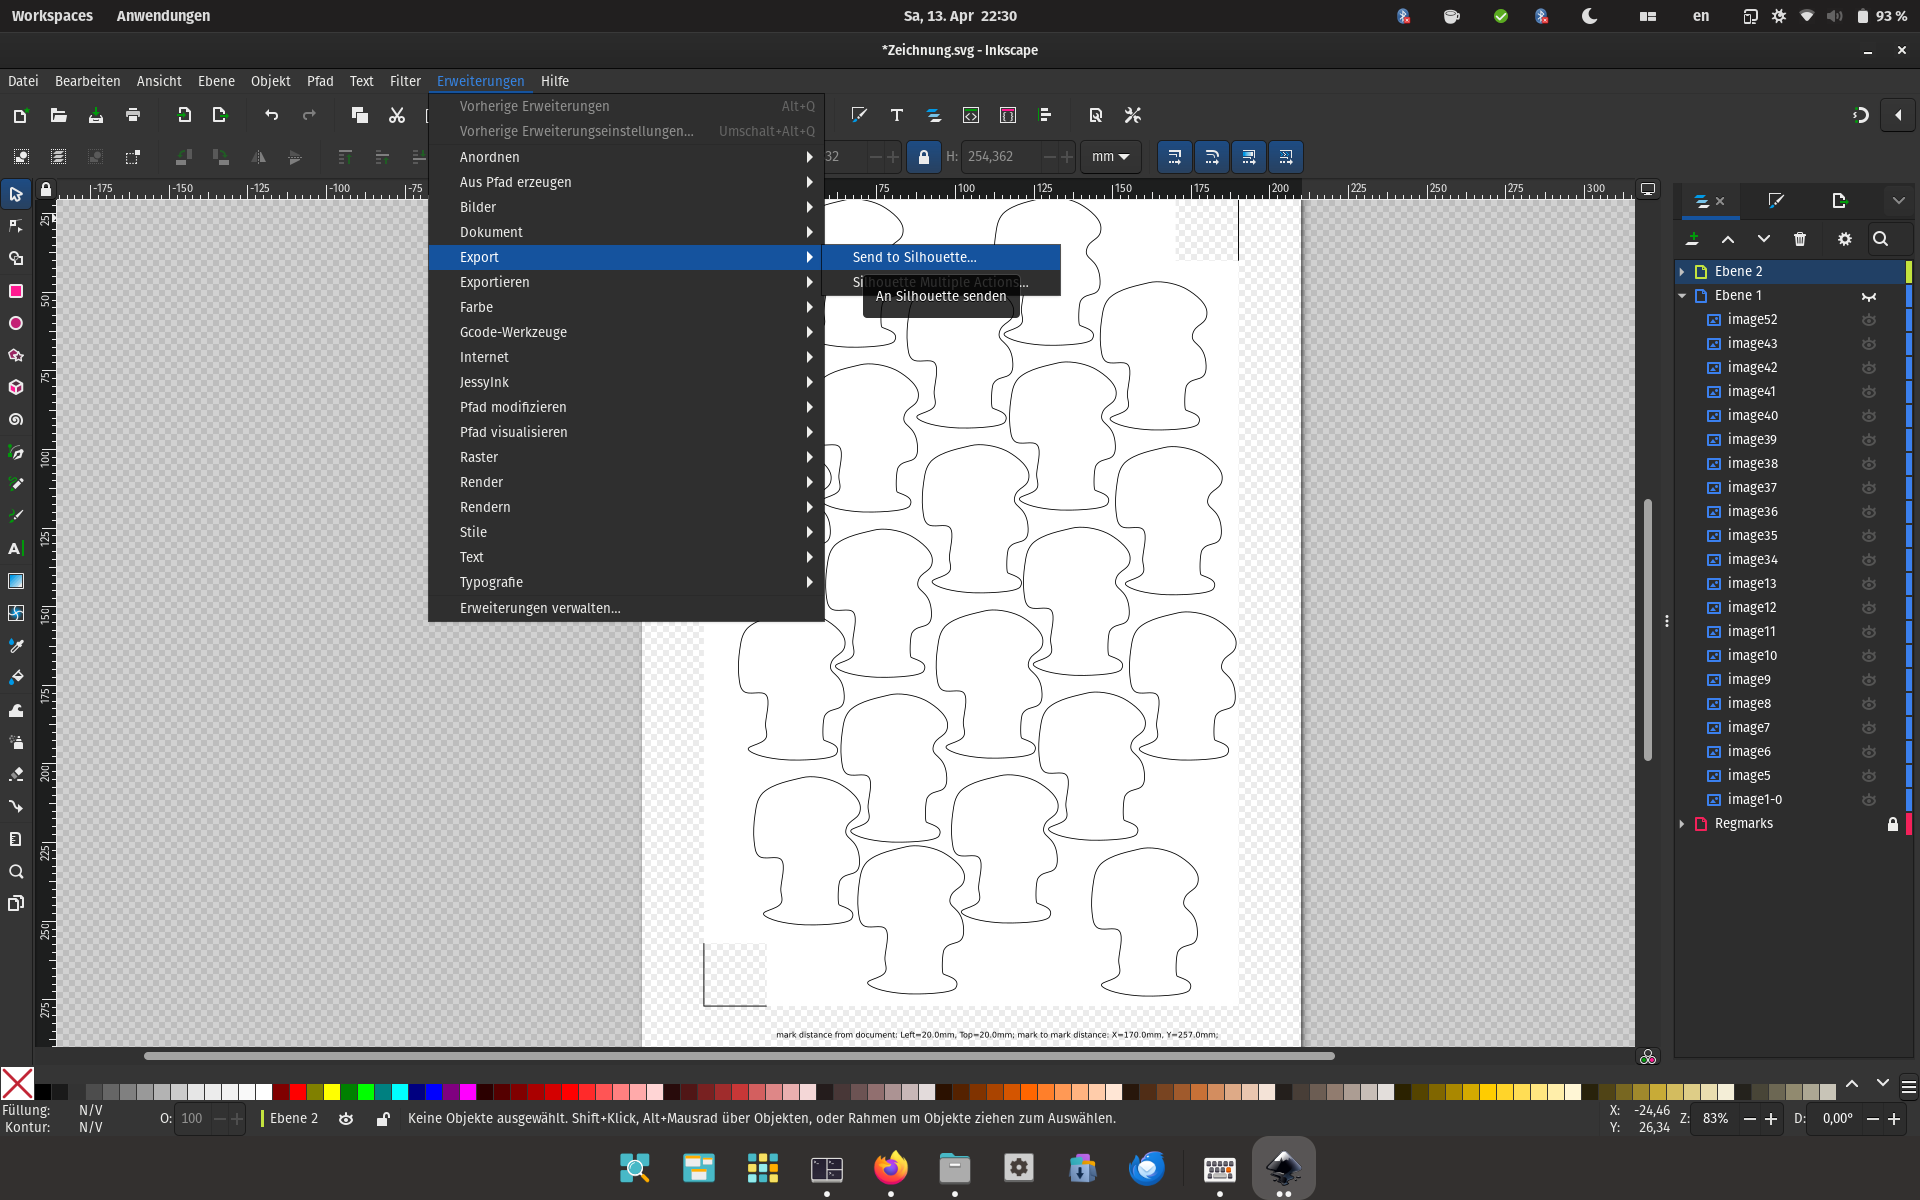
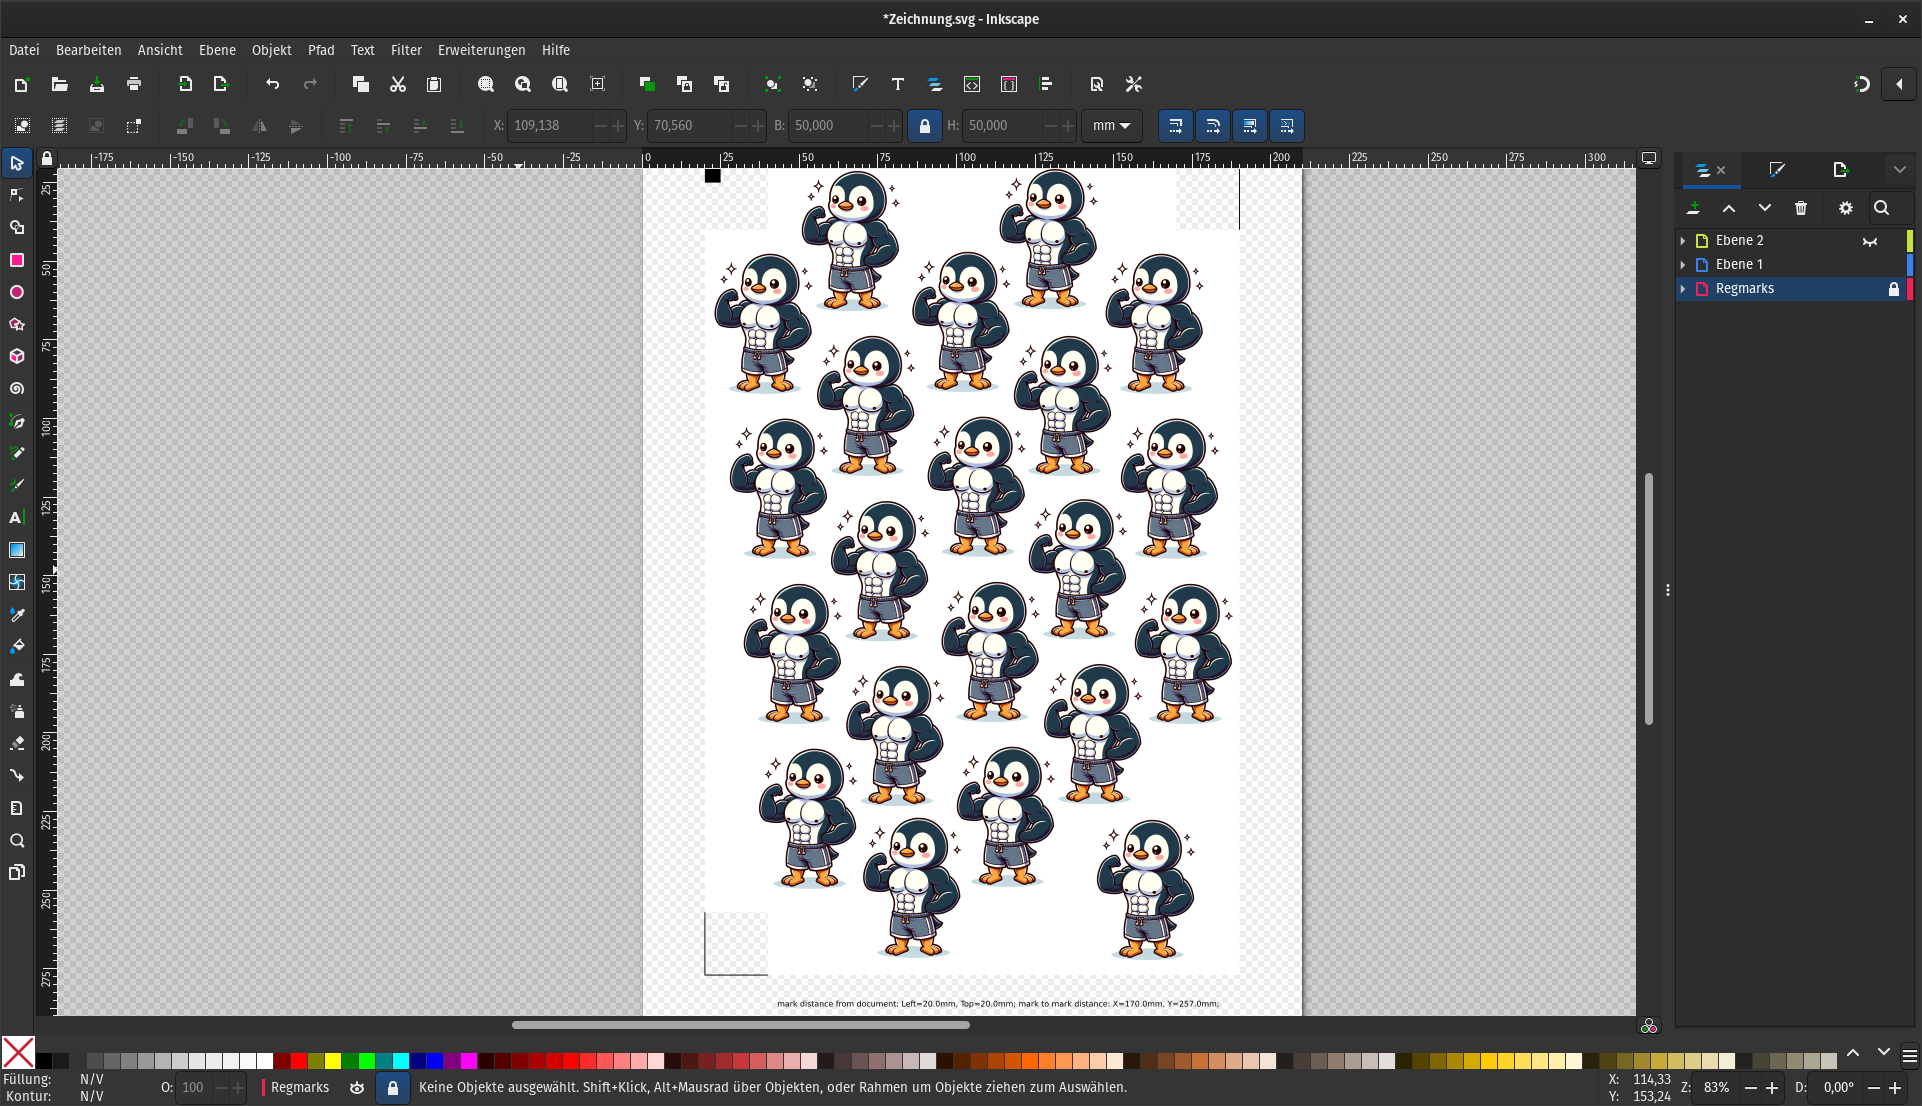
Now, fill the page with as many of your stickers as possible, while not going into the checkerboard patterns. To duplicate the image and the border press Ctrl+d. After duplicating both drag them around. Make sure to also keep the outline around the stickers.
Step 5: Print the sticker
To print the document hide the layer containing the border. Either export the project to a PDF or print as a SVG. To do this press Ctrl+P. Print that pdf without margins (firefox can do that) on sticker paper (or regular paper if you want to test first).
Step 6: Cut the print
Take the print, fit it onto the print plate, and load it. Hide all layers except the outline layer containing the border. Connect the computer to the plotter and select “Send to Silhouette”.
